Tutorial
This page describes how to create a scene that uses Unity Render Streaming, and introduces you to key features that help you produce the 3D contents works on browsers via streaming.
Before you begin
- Please read the Requirements to understand the limitation.
- This tutorial uses localhost and port 80 for the signaling server. Please read Signaling Settings page if you want to change the address and port number.
Creating a Unity project from the Template
1: Open the Unity Hub.
2: Go to Projects, and select New Project.
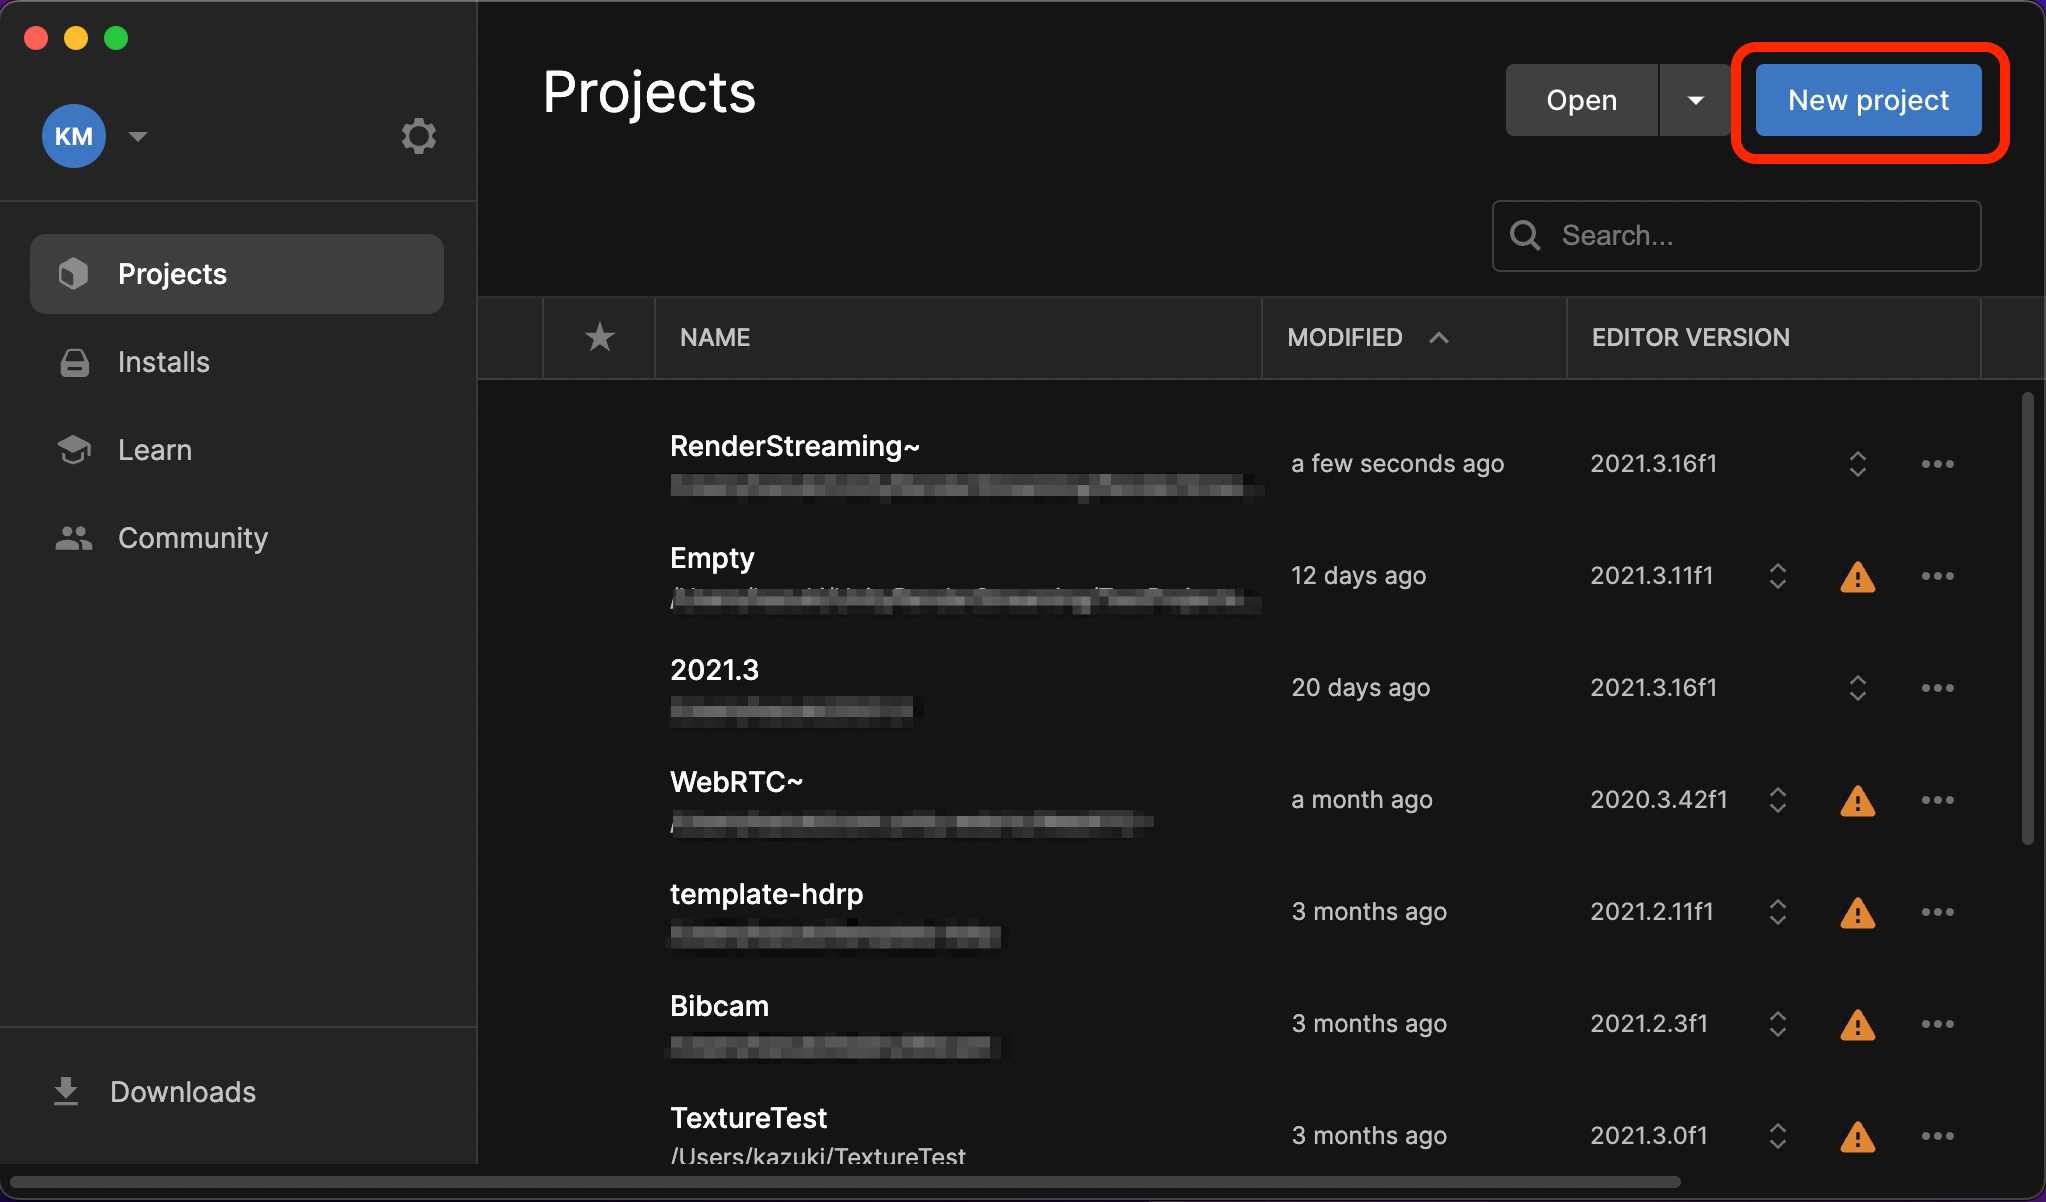
3: Open the Core tab and select Third Person.
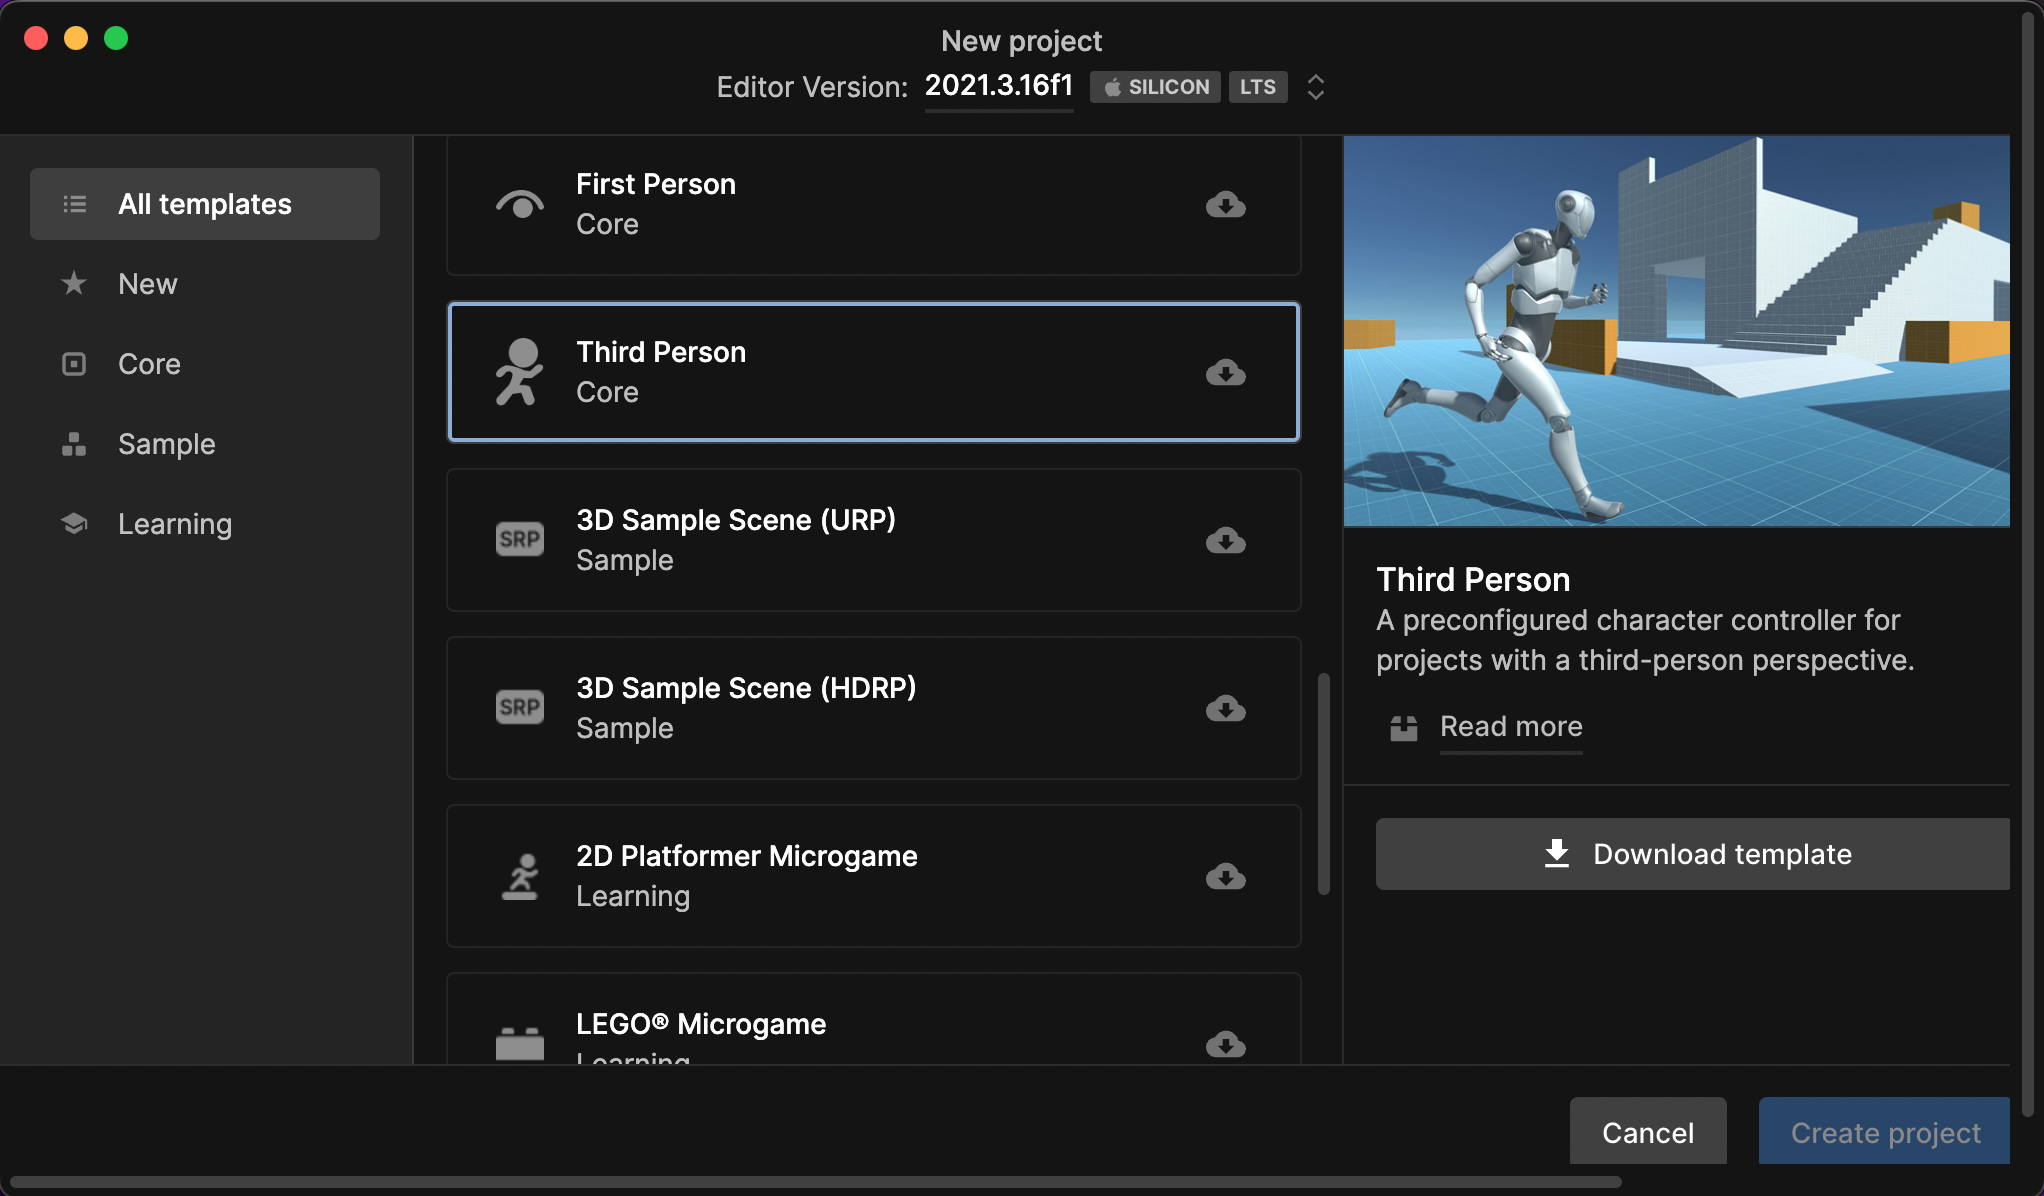
4: Enter a Project name.
5: Select Create Project.
Unity creates a project, and after Unity opens the Template Project, you can see the Playground scene.
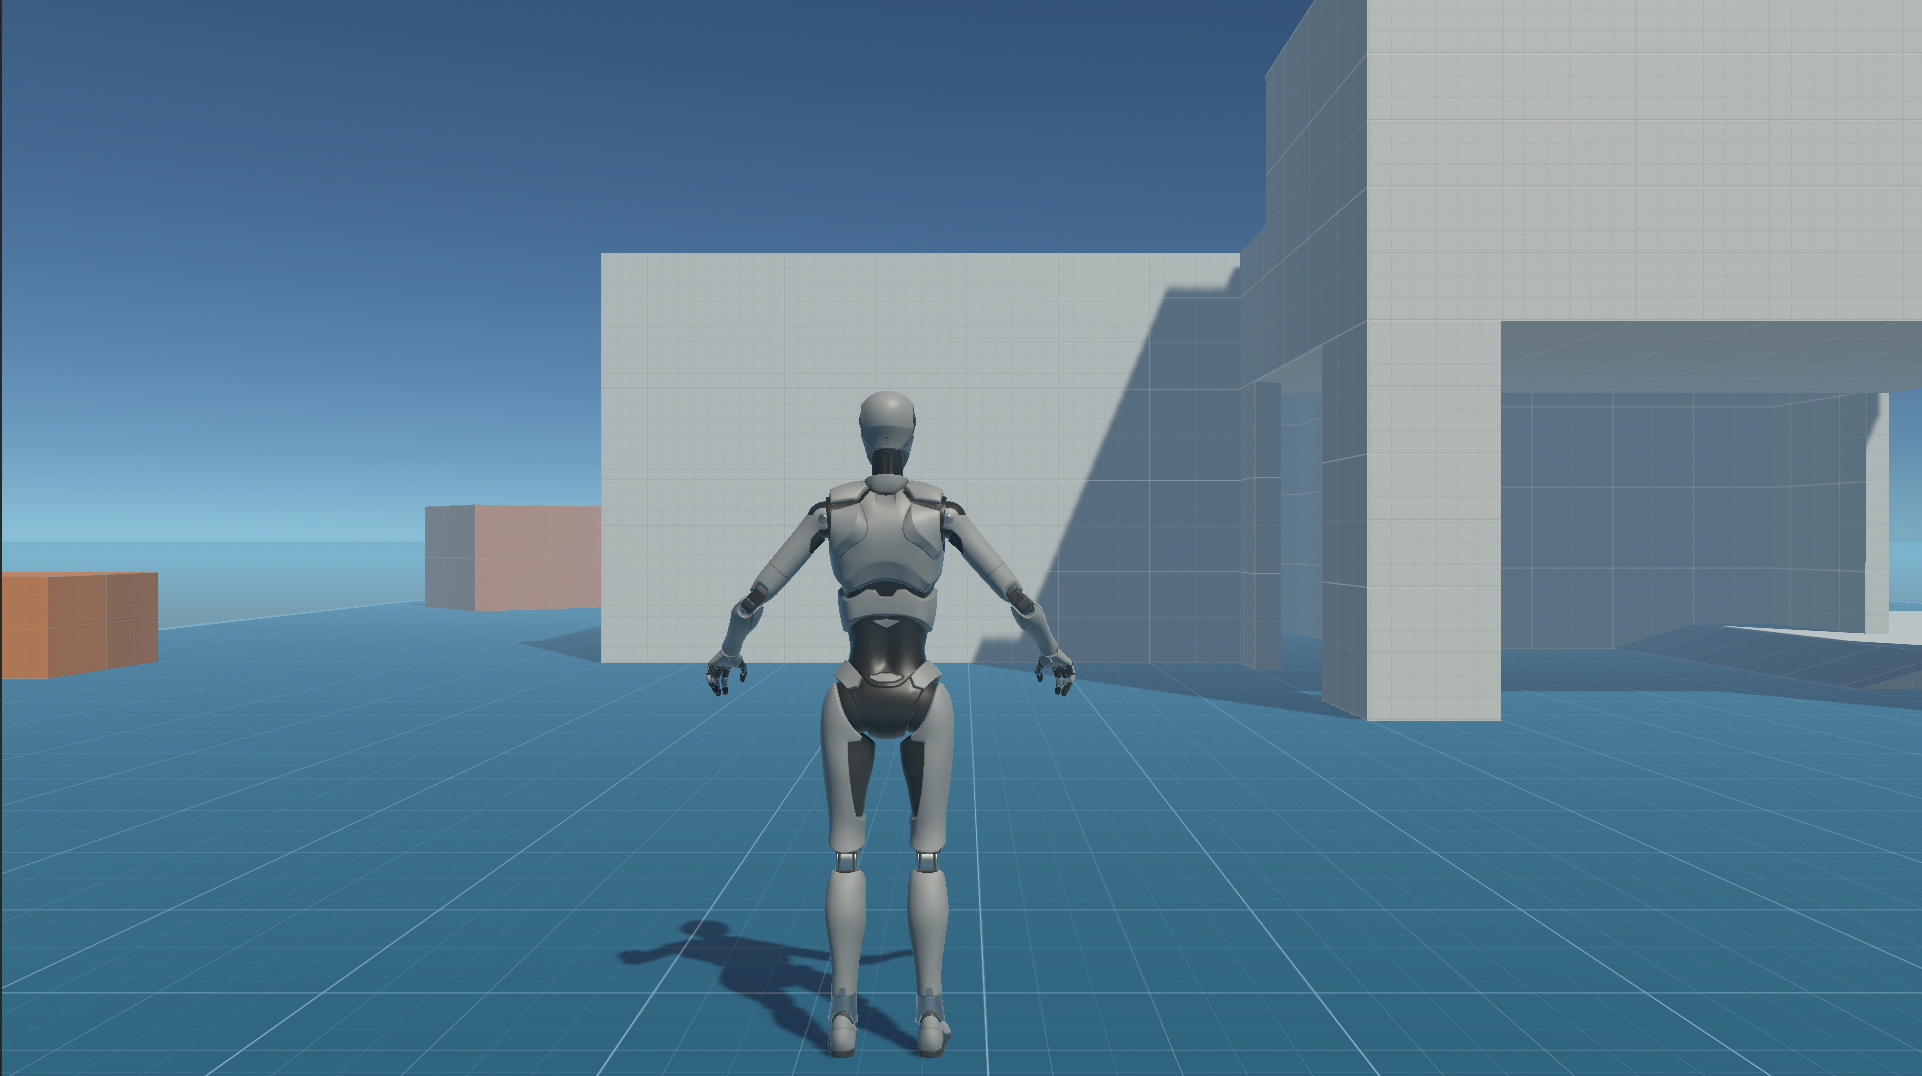
This template is designed to work on many platforms, so it is an good starting point for projects aiming for streaming. If you want to achieve a high-end graphics, we recommend using the HDRP sample templates.
Unity Render Streaming setup
1: Select Window > Package Manager in the menu bar.
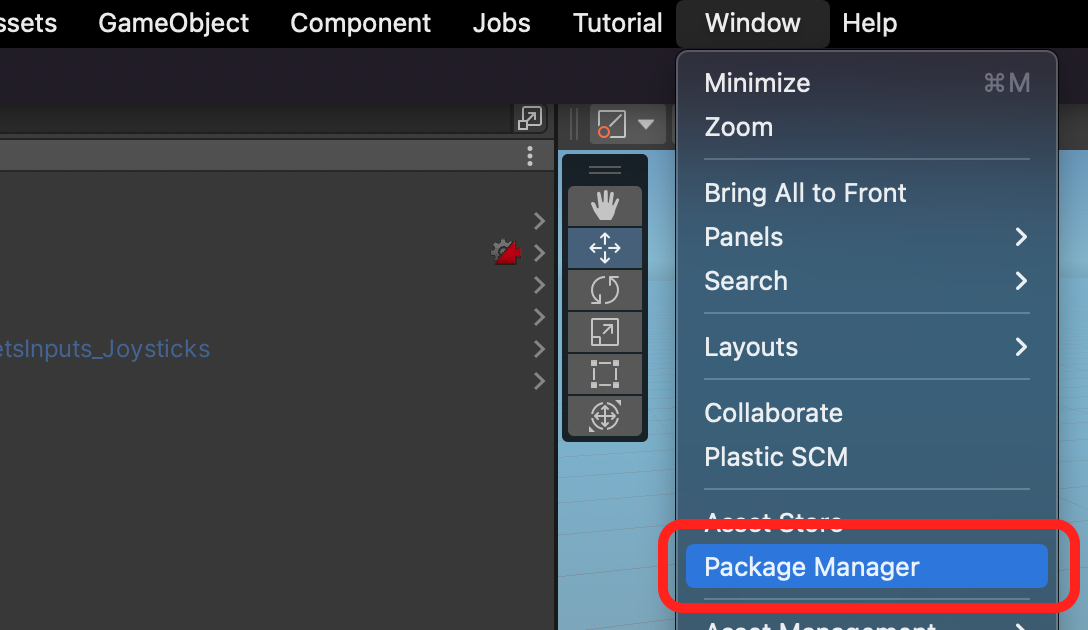
2: Check Package Manager window, Click + button and select Add package by name. If you use Unity 2020.3, select Add package from git URL.
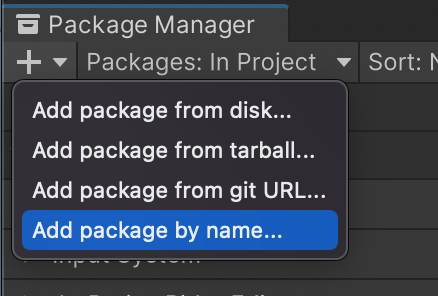
3: Input the string below to the input field.
com.unity.renderstreaming
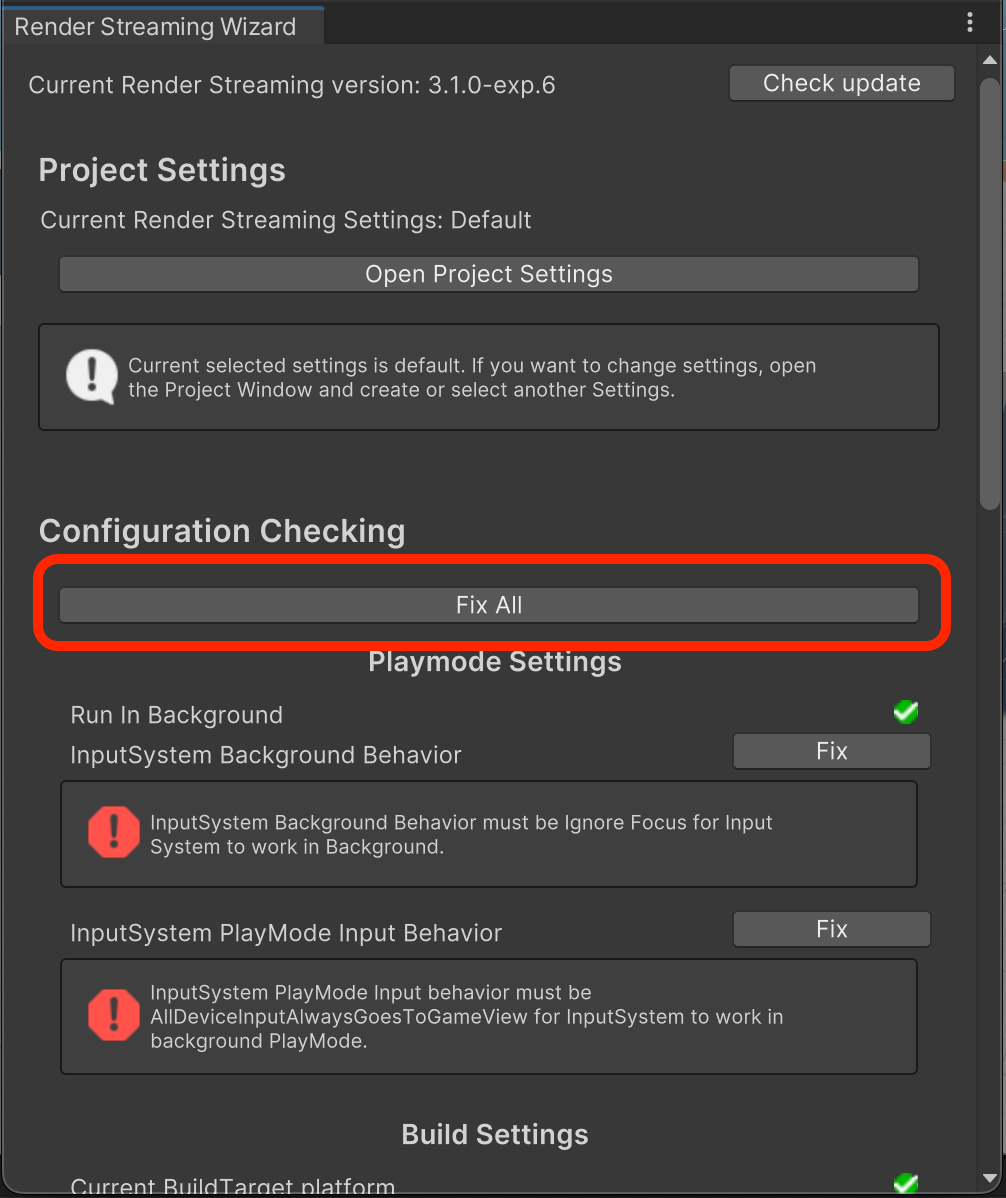
4: The Render Streaming Wizard window is opened automatically after installing the package. Select Fix All.
5: Select Play on Unity Editor.
Launch web app
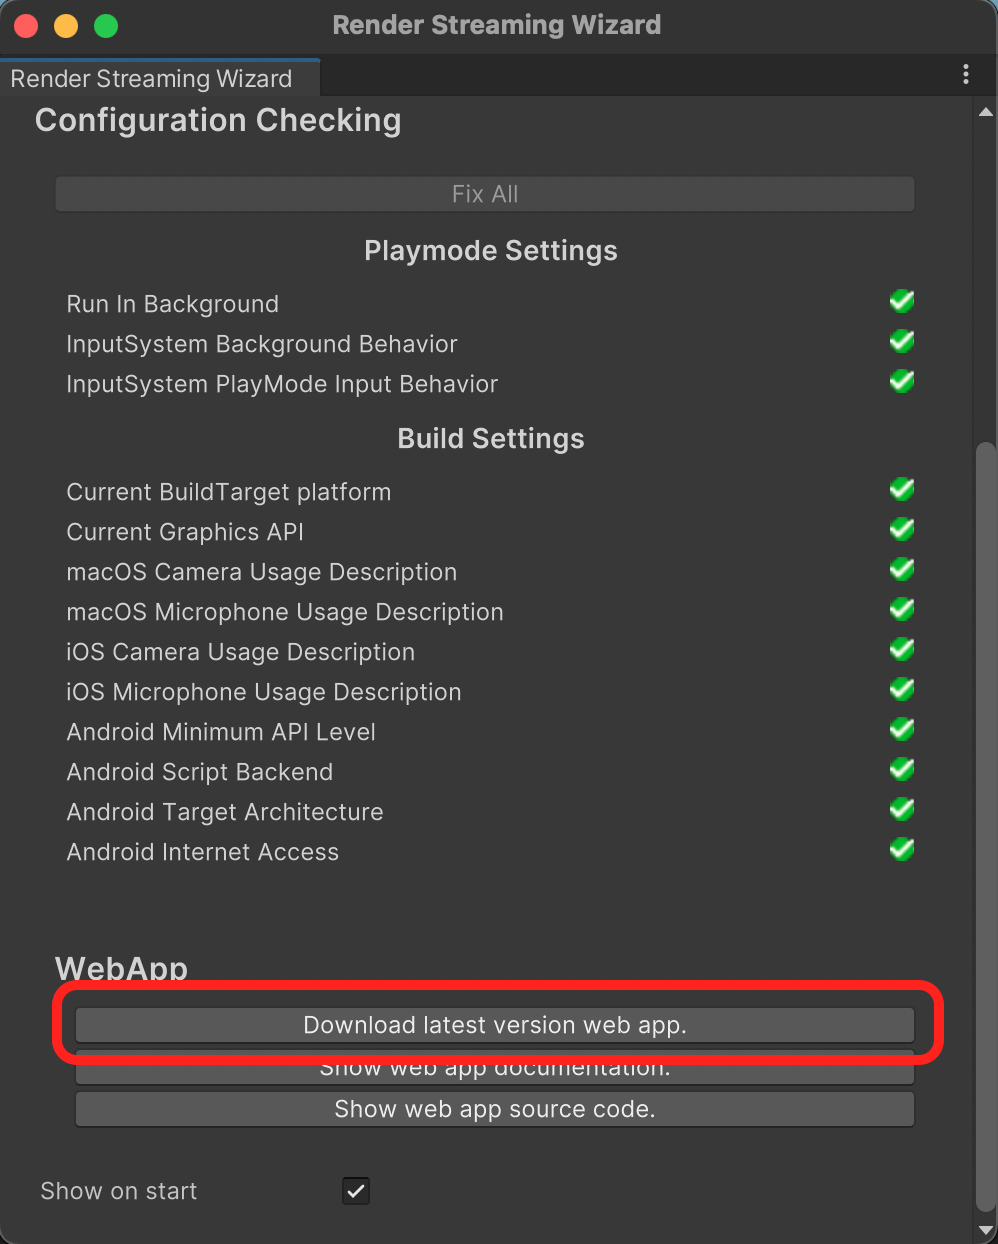
1: Select Download latest version web app on the Render Streaming Wizard window.
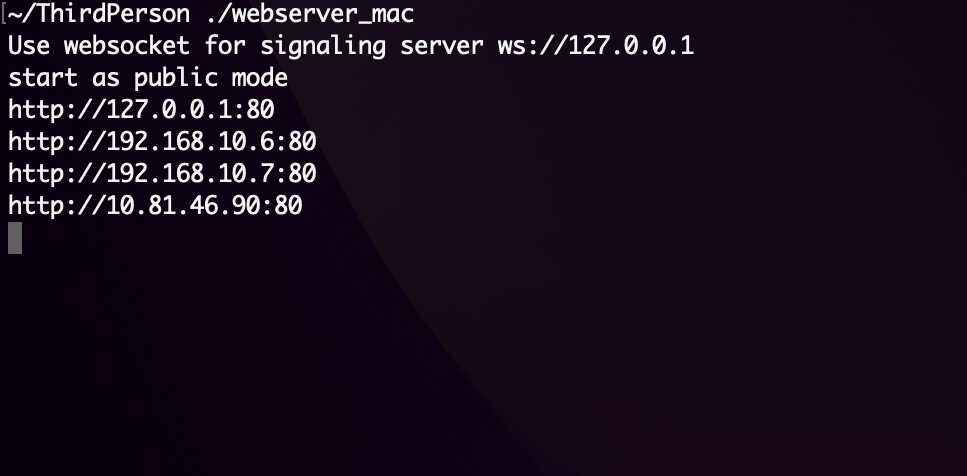
2: Launch the app.
It is succeeded if you can see logs in the console like below.
Connect from browser
1: Launch the browser.
Please see the supported browsers list in the Requirements page.
2: Go to http://127.0.0.1 on the browser.
3: Select Receiver Sample.
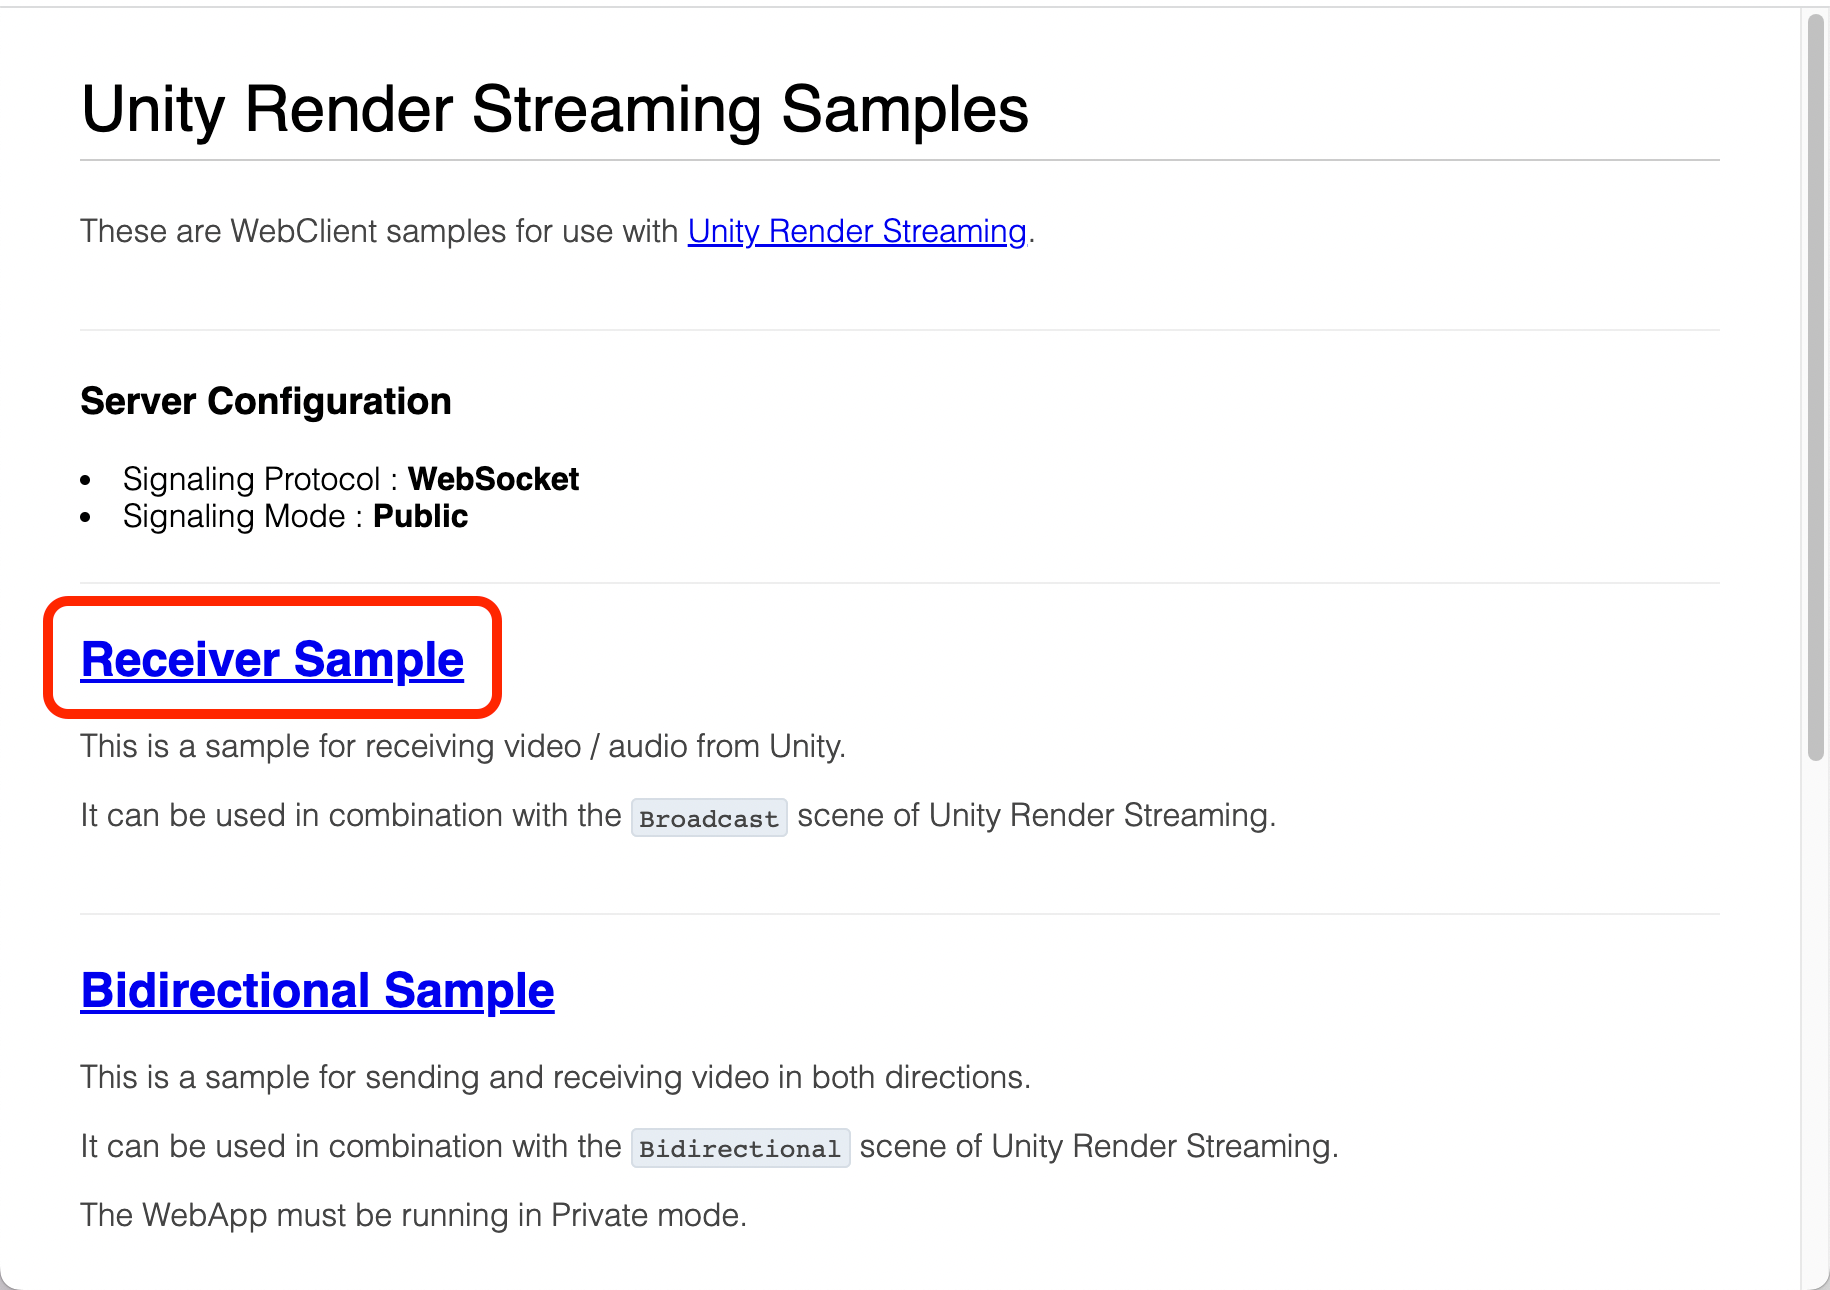
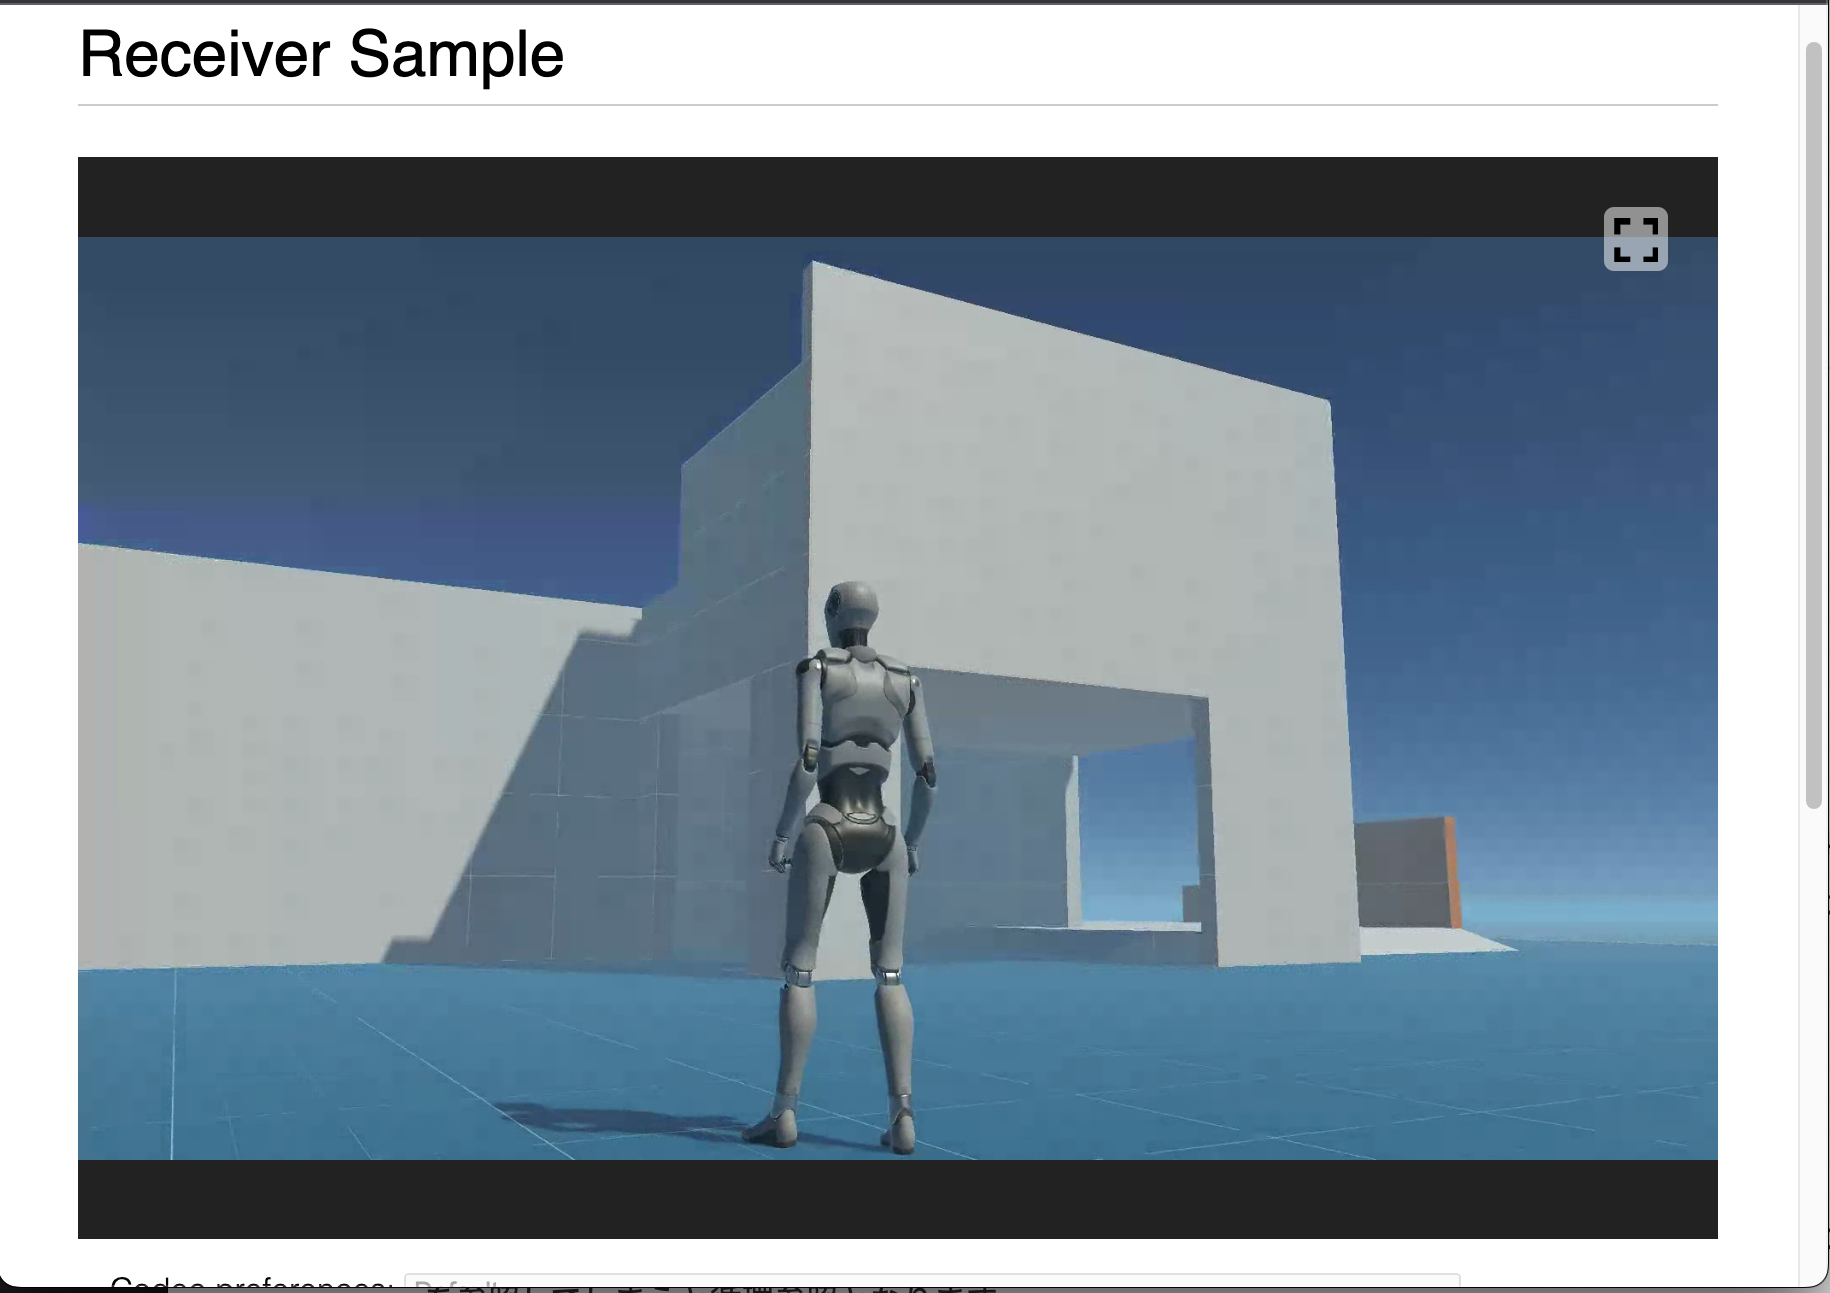
4: Select Play.
You can see the game view on the browser, and the mouse and keyboard input effects the game view.
Connect from mobile browser
1: This project contains virtual gamepad. Please select UI_Canvas_StarterAssetsInputs_Joysticks in Hierarchy window, and set active.
You can see the gamepad in Game View.

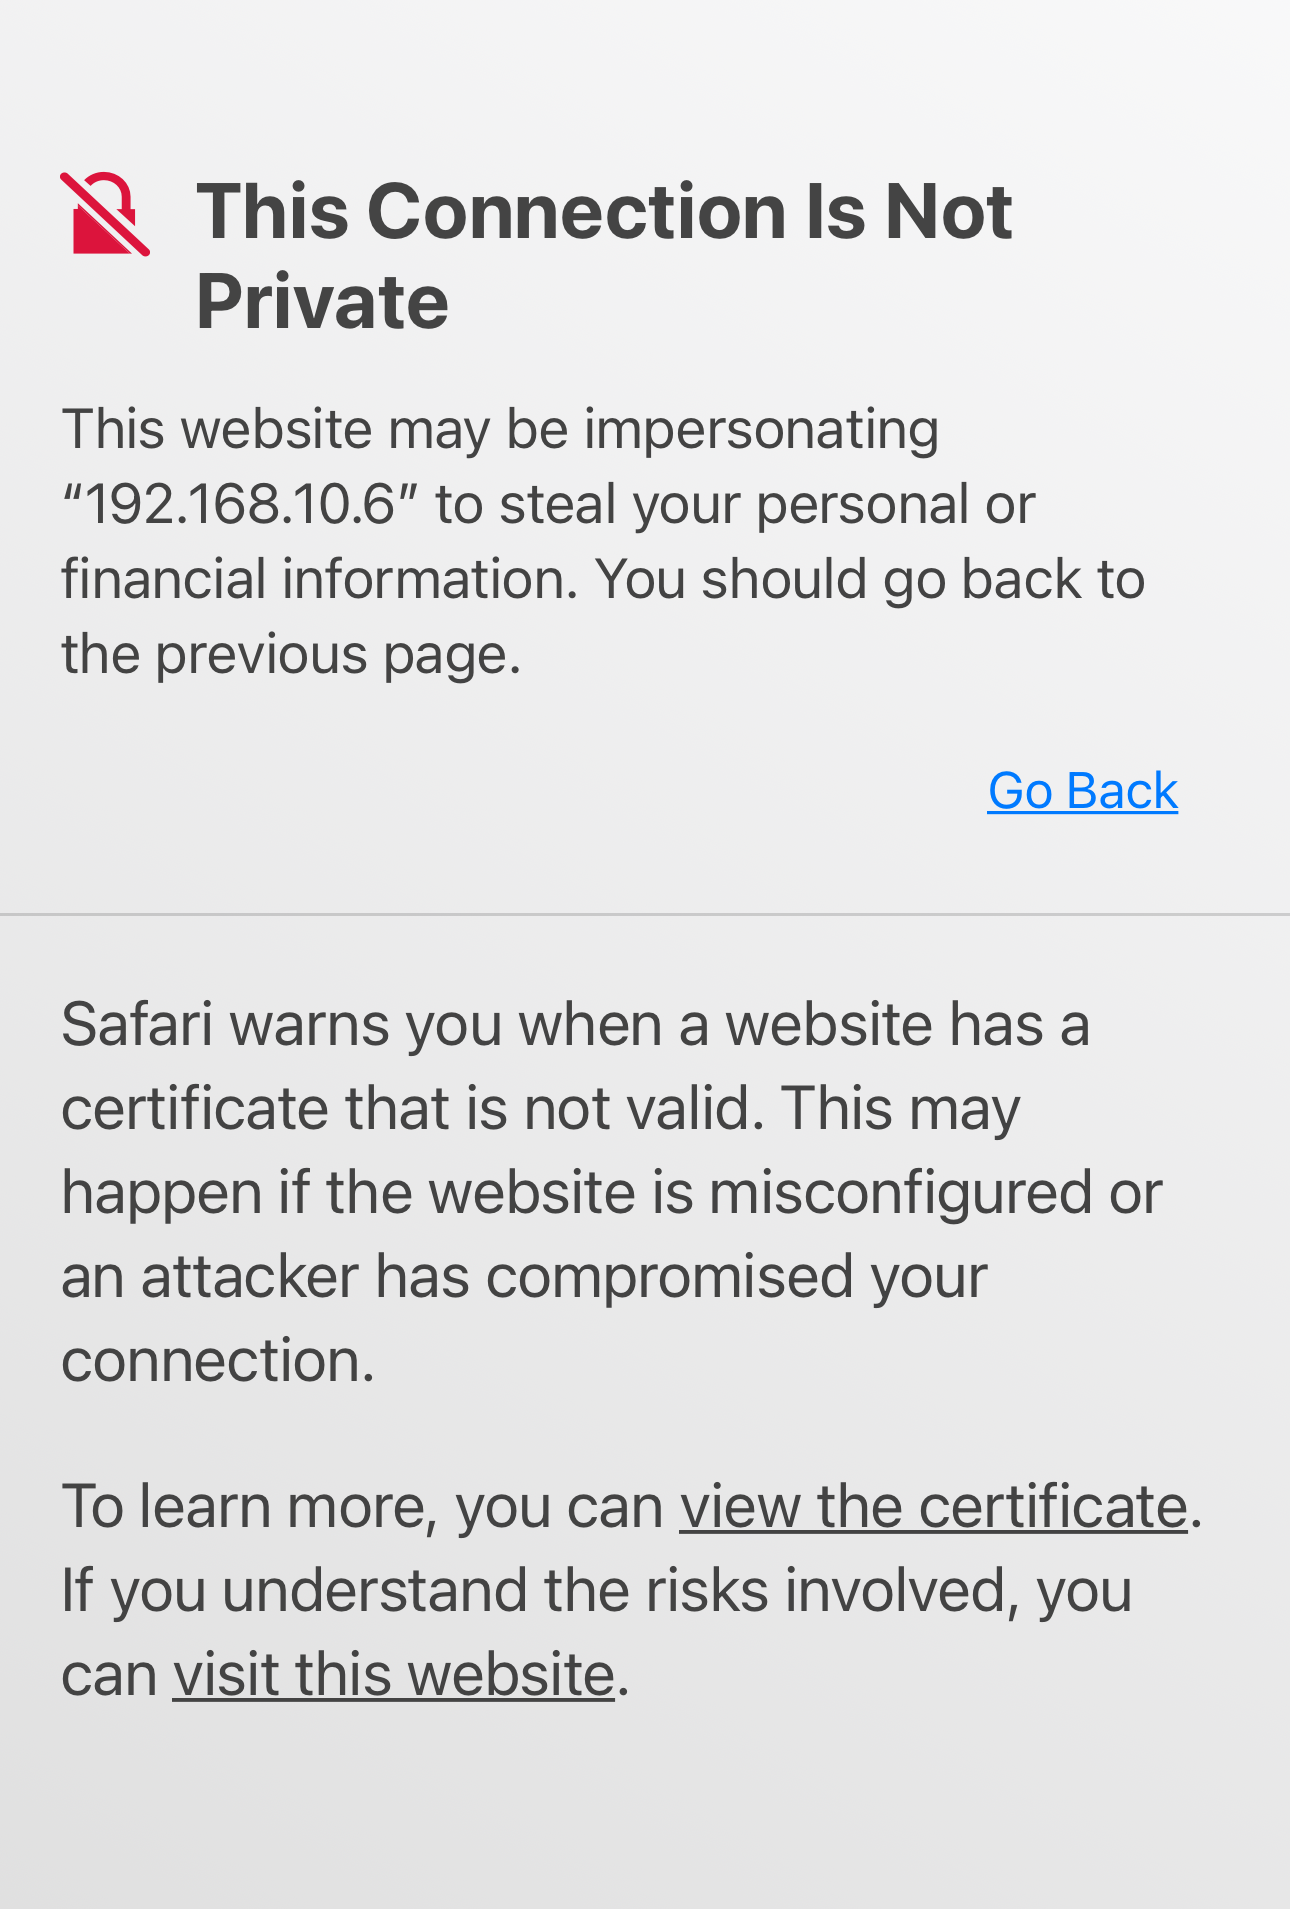
2: When connecting from a mobile browser, the SSL certificate must be enabled on the signaling server. Please see this page.
3: Start the signaling server using the created certificate. Please see the options of web server here
4: Set the new URL of the web server to Signaling Settings in Project Settings window.
5: Select Play on the Unity Editor.
6: Access the web page from the mobile browser.
You don't mind it if you see the warning page like below.
7: Select Receiver Sample.
You can see the game view on the mobile browser.
Next Step
This tutorial explained an example using the Unity Project created from a template, and manipulating the character in 3D game from web browsers. An another example, developers can do the same by setting up some components on the scene. Please see this page. This method allows for more detailed customization.