Import Settings
Each type of asset that Unity supports has a set of Import Settings, which affect how the asset appears or behaves. To view an asset’s import settings, select the asset in the Project View. The import settings for this asset will appear in the Inspector. The options that are displayed will vary depending on the type of asset that is selected.
For example, the import settings for an image will allow you to choose whether it’s imported as a texture, a 2D sprite, or a normal map. The import settings for an FBX file allow you to adjust the scale, generate normals or lightmap coordinates, and split & trim animation clips defined in the file.

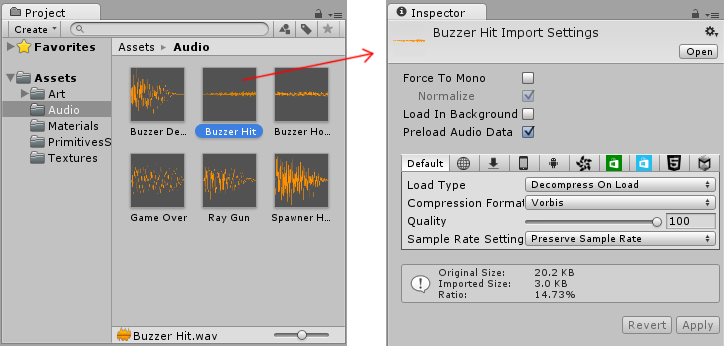
For other asset types, the import settings will look different. The various settings you see will relate to the type of asset selected. Here’s an example of an Audio asset, with its related import settings shown in the inspector.
If you are developing a cross-platform project, you can override the “default” settings and assign different import settings on a per-platform basis.
对文档有任何疑问,请移步至开发者社区提问,我们将尽快为您解答