The Look Dev view
The Look Dev view is the main window. You can open multiple Look Dev views at once.
By default there is only one view in the Look Dev view, but you can choose from a selection of split-screen views. See Multi-view below to learn more about this.
Loading Prefabs into the Look Dev view
The Look Dev view is primarily designed to view AssetAny media or data that can be used in your game or Project. An asset may come from a file created outside of Unity, such as a 3D model, an audio file or an image. You can also create some asset types in Unity, such as an Animator Controller, an Audio Mixer or a Render Texture. More info
See in Glossary PrefabsAn asset type that allows you to store a GameObject complete with components and properties. The prefab acts as a template from which you can create new object instances in the scene. More info
See in Glossary.
To load a Prefab into the Look Dev view, right click the Prefab and select Open in Look Dev Tool. Alternatively, if Look Dev is already open, drag and drop the Prefab from the Hierarchy window directly into the Look Dev view.
Note: When you right click on a Prefab to load it into Look Dev, it automatically loads into the currently visible Look Dev view or the last active one.
Multi-view
By default, the Look Dev view displays a single pane containing the Prefab you are working with. Use the buttons in the Control Panel to display a split-screen duplicate pane alongside it, allowing you to compare and contrast different settings.

When you select the button containing the number 1 or number 2 , the Look Dev view is in single-pane mode. Each button corresponds to its view in Look Dev. Select button 1 to apply settings to view 1, and button 2 to apply settings to view 2. The other three buttons are as follows:
Side-by-side: 
Duplicate views displayed side by side.
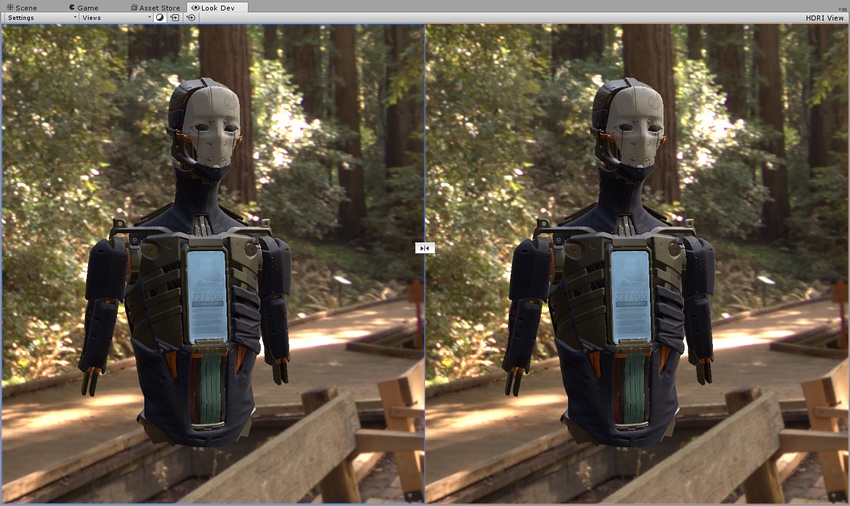
By default, both views use the same cameraA component which creates an image of a particular viewpoint in your scene. The output is either drawn to the screen or captured as a texture. More info
See in Glossary. The lock button  at the center decouples this behavior, allowing you to manipulate the camera in both views independently.
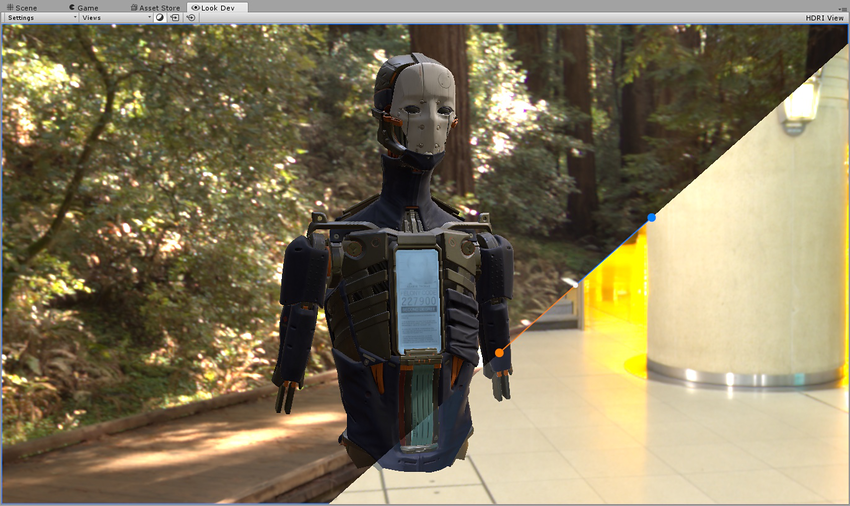
Split-screen: 
The view is split horizontally in two, and an orange/blue manipulation GizmoA graphic overlay associated with a GameObject in a Scene, and displayed in the Scene View. Built-in scene tools such as the move tool are Gizmos, and you can create custom Gizmos using textures or scripting. Some Gizmos are only drawn when the GameObject is selected, while other Gizmos are drawn by the Editor regardless of which GameObjects are selected. More info
See in Glossary represents the separation plane between the two views (see Using the manipulation Gizmo below for guidance on using this).
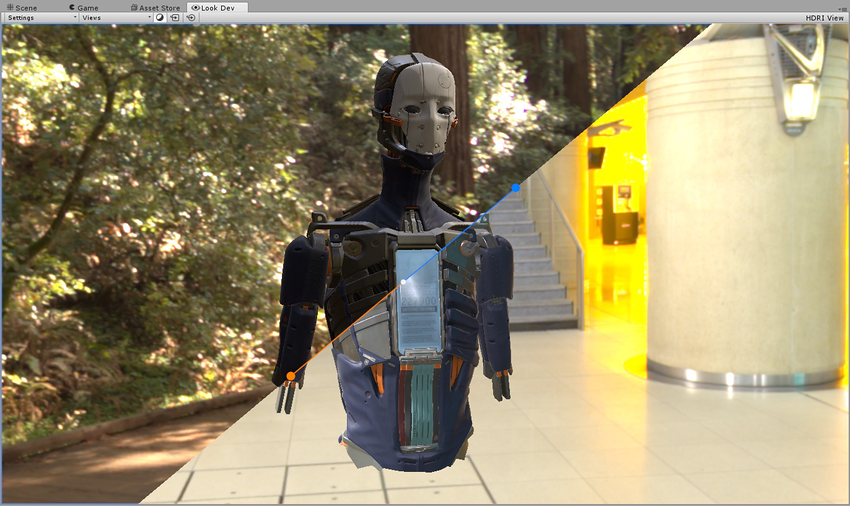
Zone 
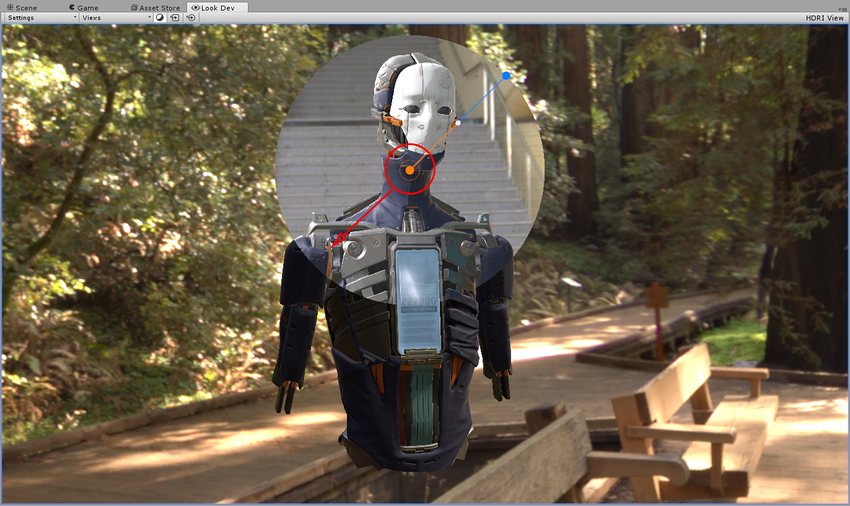
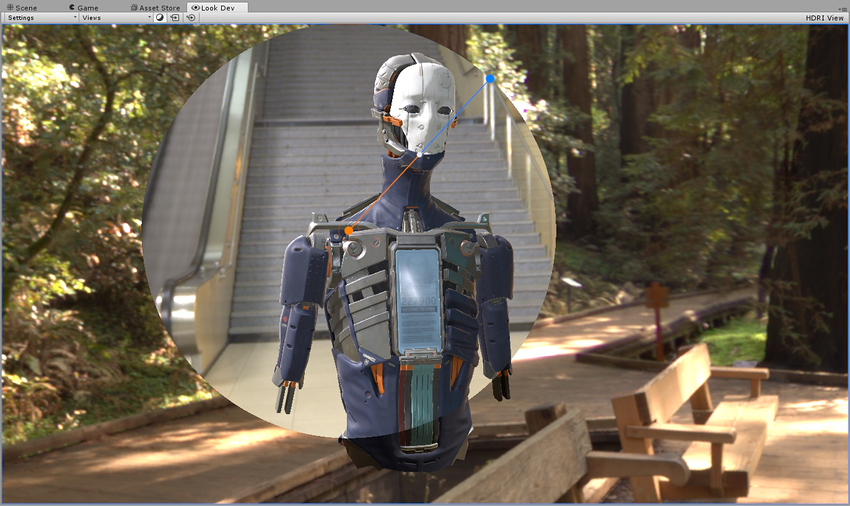
The view is split in two, with a circular split defined by the position of the orange/blue manipulation Gizmo:
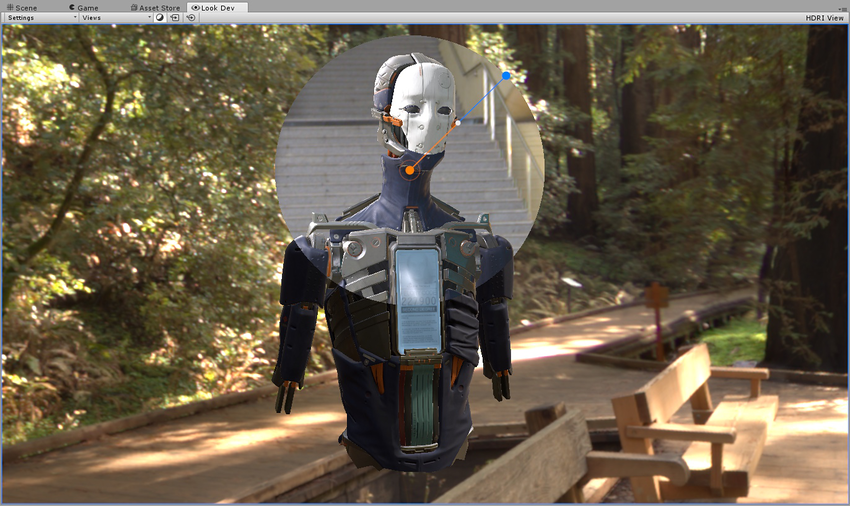
To load a different Prefab into each split-screen view, go to Settings and enable Allow Different Objects, then drag and drop each Prefab into its intended view.
Note that in multi-view modes, it only makes sense to do this if you need to look at two different versions of the same Asset. Comparing completely different Assets doesn’t give you a good idea of the difference in lighting or visual effect.
Using the manipulation Gizmo
The manipulation Gizmo has different behaviour in Split-screen and Zone modes, but you use it in the same way in both.
Moving the separator
To move the separator, click on the narrow part of the Gizmo and drag and drop it to the location you want.
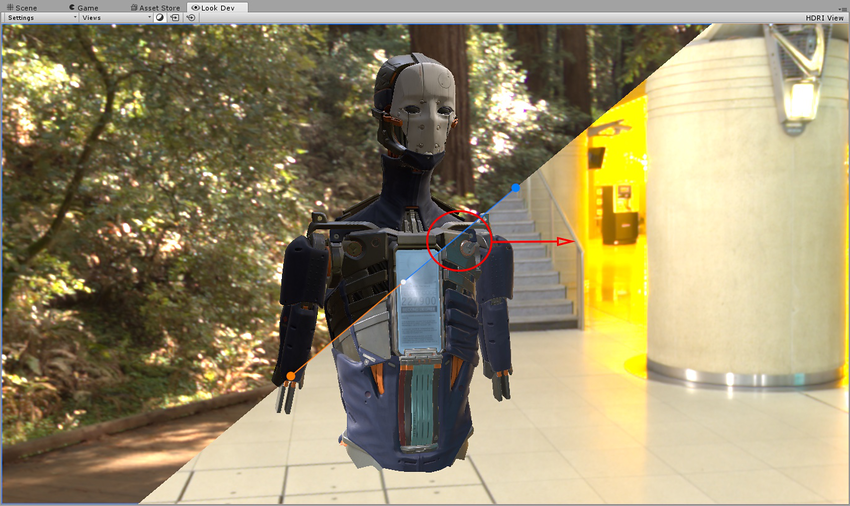
Changing the orientation and length
To change the orientation and length of the manipulator Gizmo, click and drag the circle at either end of the manipulator.
In Zone mode, moving the circles on the manipulator Gizmo changes the radius of the view circle.
Changing the separation in increments
To change the separation in increments, click and hold the circle on the end of the manipulation Gizmo, then hold Shift as you move the mouse. This snaps the manipulation Gizmo to set angles, which is useful for a perfectly horizontal, vertical or diagonal angle.
The central white circle on the separator allows you to blend between the two views. Left click on it and drag it along the orange line to blend the left-hand view with the right-hand view (as shown in Image A below). Drag to the blue line to blend the right-hand view with the left-hand view (as shown in Image B below).
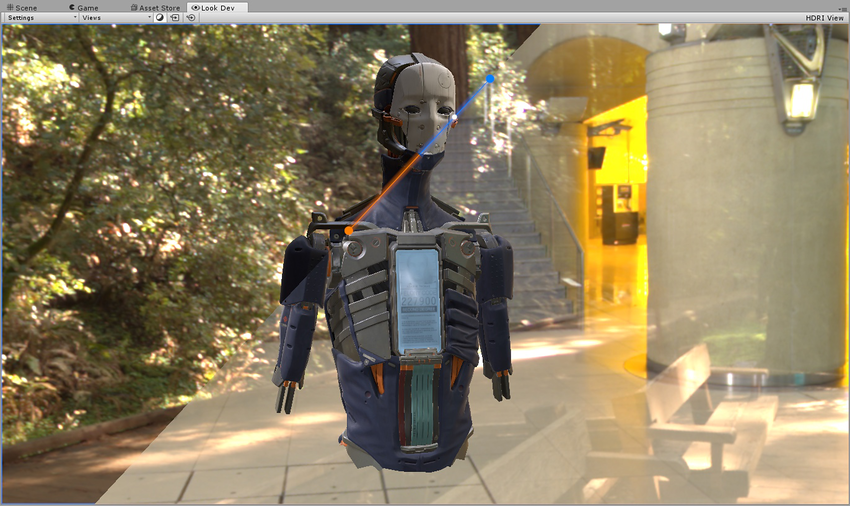
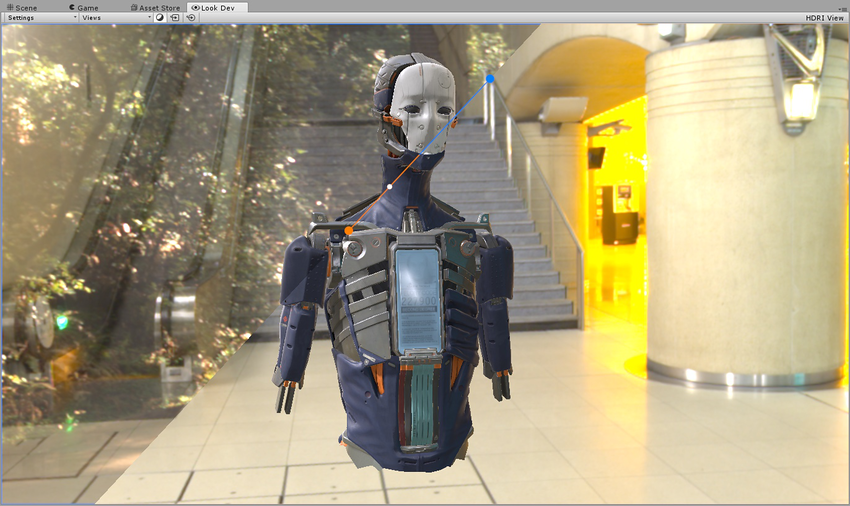
The white circle automatically snaps back into the center when you drag it back. This helps you get back to the default blending value quickly.
Uses for each option
Side-by-side: Compare two different lighting conditions on the same Asset to check that it behaves correctly.
Split-screen/Zone: Investigate texture problems using a debug ShaderA small script that contains the mathematical calculations and algorithms for calculating the Color of each pixel rendered, based on the lighting input and the Material configuration. More info
See in Glossary mode (for example, use one screen to view Normal or Albedo shading, and the environment-lit mode on the other).Side-by-side/Split-screen/Zone: Compare two different versions of the same Asset using the same lighting conditions to see which changes improve the Asset’s quality.
Side-by-side/Split-screen/Zone: Compare two different Asset LODs using the same lighting conditions, to test the quality of the LODA system for building multiplayer capabilities for Unity games. It is built on top of the lower level transport real-time communication layer, and handles many of the common tasks that are required for multiplayer games. More info
See in Glossary.