Indoor and local lighting
For indoor and local lighting, consider the following:
Spot lights and Point lights
The staples of real-time local lighting are spot lights and point lights. Fundamentally, both of these types of lights emit light from one point in space and have a limited range. The spot light has an additional limit by angle. For more information, see documentation on Types of light.
The main difference between spot lights and point lights is how they cast shadows and interact with cookies. Shadowing with a point light requires 6 shadow maps, while a spot light only needs one. For this reason, point lights are much more performance-intensive, and you should use them sparingly. Note that baked lightsLight components whose Mode property is set to Baked. Unity pre-calculates the illumination from Baked Lights before runtime, and does not include them in any runtime lighting calculations. More info
See in Glossary do not require shadow maps.
Another difference is that a cookie texture on a spot light is a simple 2D texture, while a point light requires a cube map, usually authored in a 3D modelling application. For more information, see documentation on Cookies.
Note: You can only use area lighting when baking lighting, unless you’re using the HD Scriptable Render Pipeline. There are area lights that can be rendered in real time when in HD SRP mode.
Light intensity and color
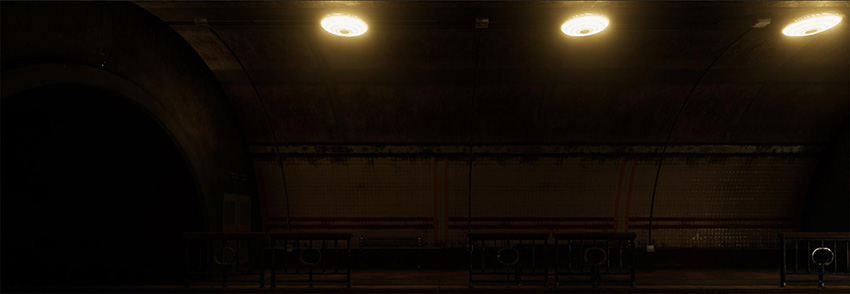
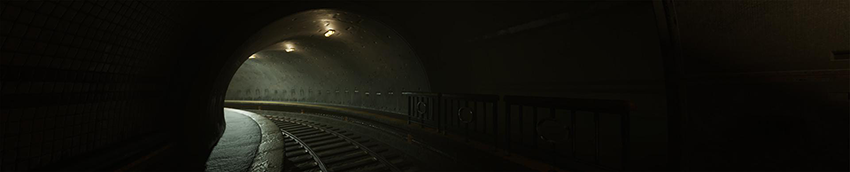
When selecting intensity for indoor lights, try to make sure no indoor lights have a greater intensity than the sun’s light. The sample SceneA Scene contains the environments and menus of your game. Think of each unique Scene file as a unique level. In each Scene, you place your environments, obstacles, and decorations, essentially designing and building your game in pieces. More info
See in Glossary is set in a tunnel, so it’s very unlikely that there are any high intensity lights shining from the ceiling that exceed the brightness of the sun’s light:

When choosing the right color for your lights, consider the effect of the color and value chosen. When selecting color, try not to completely leave out any one of the color channels completely. This creates a light that is difficult to converge with the white point. For example, although it is technically a valid light color, the light color on the left image below removes all blue color from the final output:

Try not to limit your final color palette in the Scene, especially if you expect to do color grading later on.
Note: For advice on using a tonemapper to handle high intensity color values, such as colored light or fire, see High intensity color.
Emissive materials
In Unity, emissive materials can contribute to lighting if Realtime GI or Baked lighting is enabled, giving the effect of area lighting. This is especially useful if Realtime GI is enabled. You can modify the intensity and color of the emissive surface and get feedback immediately, assuming that pre-computations have been done ahead of time.
For more information, see Emission.
At this point, you should have a good understanding of how to set up and light a Scene to look believable.
- 2018–03–21 Page published
- Making believable visuals Best Practice Guide added in Unity 2017.3
Copyright © 2023 Unity Technologies
优美缔软件(上海)有限公司 版权所有
"Unity"、Unity 徽标及其他 Unity 商标是 Unity Technologies 或其附属机构在美国及其他地区的商标或注册商标。其他名称或品牌是其各自所有者的商标。
公安部备案号:
31010902002961