光照贴图:入门
本页将介绍 Unity 中的光照贴图。光照贴图过程将预先计算场景中表面的亮度,并将结果存储在图表或“光照贴图”中供以后使用。
Unity uses a system called the Progressive Lightmapper, which bakes lightmaps for your Scene based on how your Scene is set up within Unity, taking into account Meshes, Materials, Textures, and Lights. Lightmapping is an integral part of the rendering engine; when your lightmaps are created, GameObjects automatically use them.
有关与特定光照贴图相关的设置的信息,请参阅全局光照的文档。
准备场景并烘焙光照贴图
从 Unity Editor 菜单中选择 Window > Rendering > Lighting Settings 以打开 Lighting 窗口。确保要应用光照贴图的网格具有适当的 UV 以进行光照贴图。最简单的方法是打开网格导入设置并启用 Generate Lightmap UVs 设置。
接下来,要控制光照贴图的分辨率,请前往 Lightmapping Settings 部分并调整 Lightmap Resolution 值。
注意:__为了更好地理解如何使用光照贴图纹理像素,请在 Scene 视图__中找到__Shaded调试场景可视化模式,切换到 Baked Lightmap__,并勾选 Show Resolution__ 复选框。
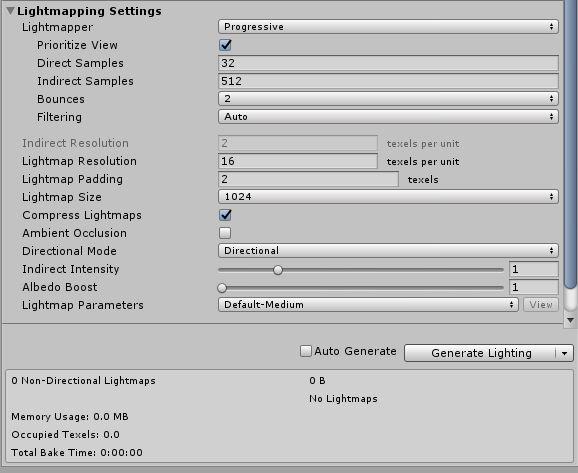
In the Mesh Renderer and Terrain components of your GameObjects, enable the Contribute GI property. This tells Unity that those GameObjects don’t move or change, so Unity can add them to a lightmap. In the Mesh Renderer component, you can also use the Scale In Lightmap parameter to adjust the resolution of your lightmap’s static Mesh or Terrain.
此外,还可在 Light Explorer 中调整光源设置。

要为场景生成光照贴图,请执行以下操作:
1.在 Lighting 窗口中的 Scene 选项卡底部,单击 Generate Lighting__(或者确保勾选了 Auto Generate__)。
2.Unity Editor 状态栏中将显示一个进度条(在右下角)。
3.烘焙完成后,您可以在 Lighting 窗口的 Global Maps 和 Object Maps 选项卡中查看所有烘焙光照贴图。
当光照贴图完成时,Unity 的 Scene 和 Game 视图会自动更新。
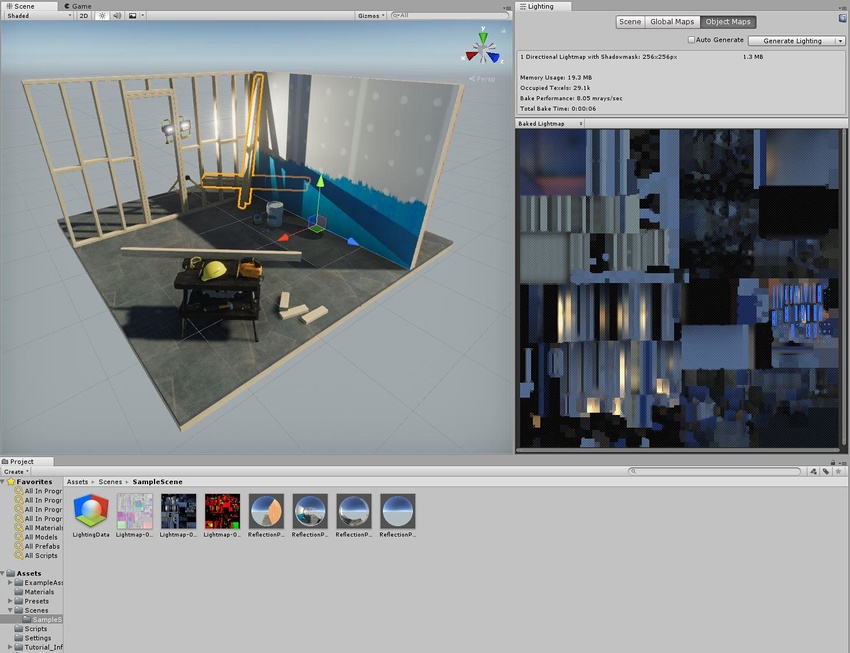
To see the UV chart of the Mesh, click on a GameObject that has Contribute GI enabled, then navigate to the Inspector window and select the Object Maps tab. Here, you can switch between different light map visualization modes. When you manually generate lighting, Unity adds Lighting Data Assets, baked lightmaps and Reflection Probes to the Assets folder.
调整烘焙设置
场景的最终外观取决于光照设置和烘焙设置。我们来看一些可以提高光照质量的基本设置的示例。
Sample count Progressive Lightmapper generates color values resulting from a single ray in order to remove noise. These color values are called samples. There are two settings that control the number of samples the Progressive Lightmapper uses for direct and indirect lighting calculations: Direct Samples and Indirect Samples. To find these, open the Lighting window (Window > Rendering > Lighting Settings), and go to Lightmapping Settings > Lightmapper.
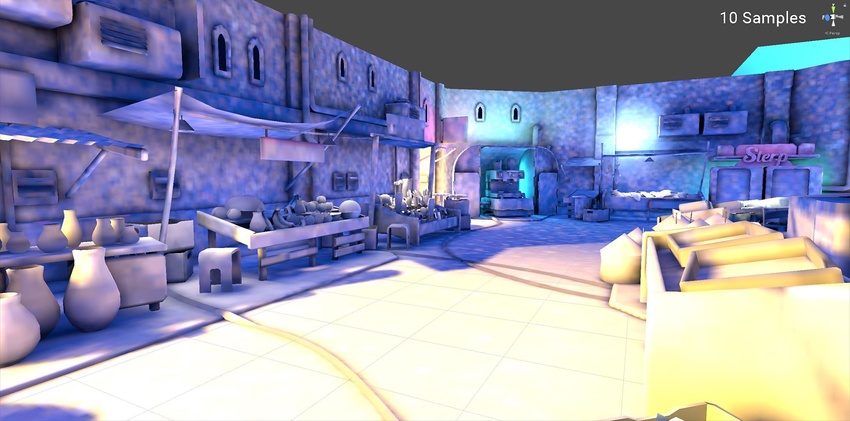
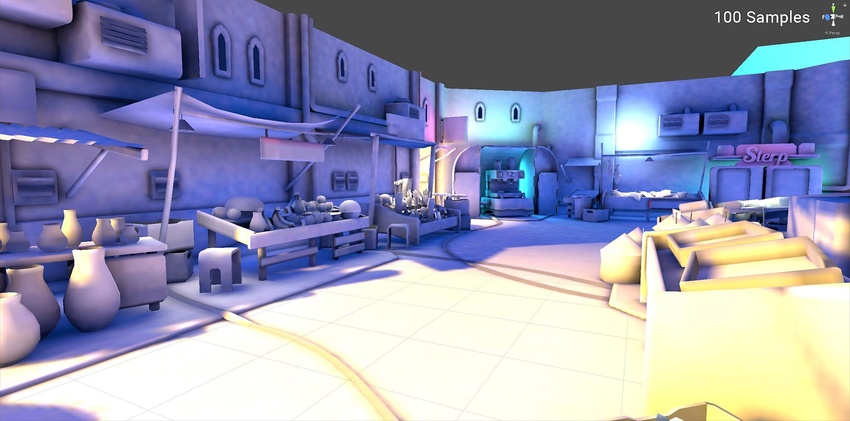
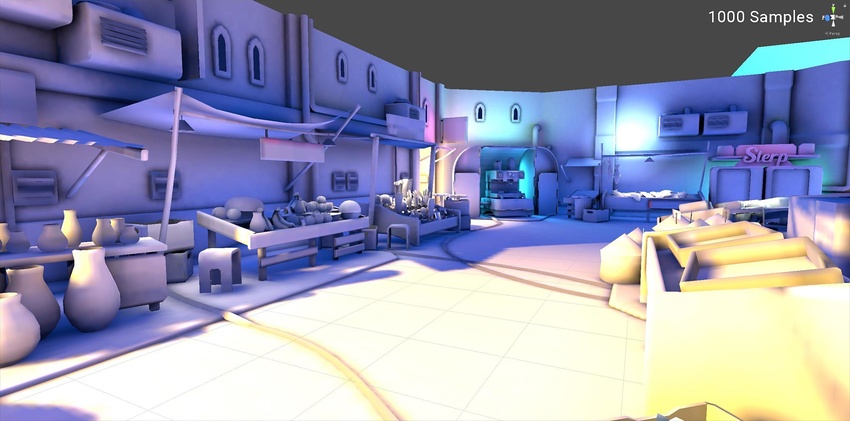
较高的采样值可降低噪点并可提高光照贴图的质量,但也会增加烘焙时间。下面的图像显示了更多样本如何在不使用滤波的情况下提高光照贴图的质量,并产生噪点较小的结果。
环境光照
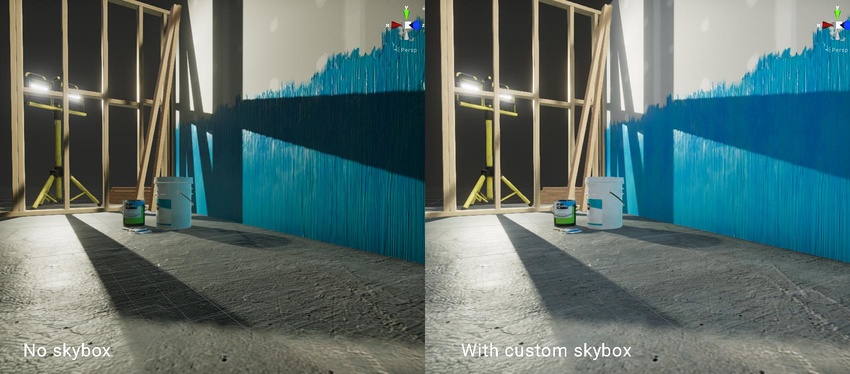
除了所有光源之外,环境光照也会影响全局光照。您可以分配一个自定义天空盒材质 (Skybox Material) 来代替默认的__程序化天空盒 (Procedural Skybox)__ 并调整强度。下面的图像分别显示了在包含和不含__环境光照__的场景中光照如何变化,并提供了较柔和的结果。两个场景中的光源设置相同。Unity 在 Asset Store 中提供了一些自定义的 HDRI 资源。
滤波
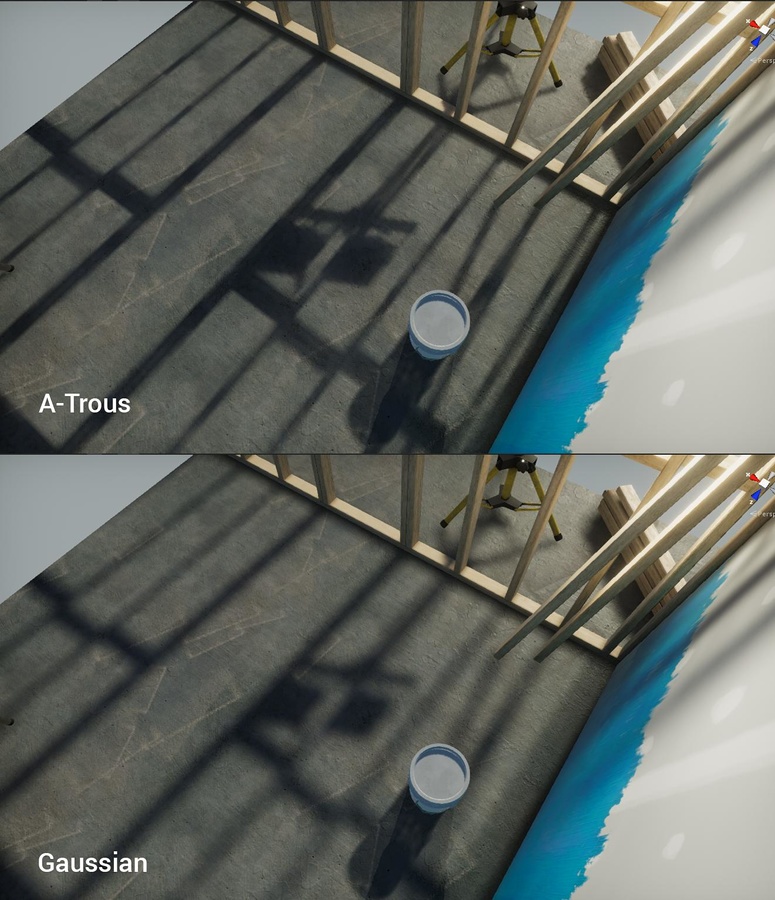
滤波可以模糊噪点效果。渐进光照贴图提供了两种不同类型的滤波:__Gaussian__ 和 A-Trous。启用 Advanced 设置后,可单独对 Direct、Indirect __ 和 Ambient Occlusion__ 应用这些过滤器。有关更多信息,请参阅有关渐进光照贴图的文档。
2018–03–28 页面已修订
在 2018.1 版中添加了渐进光照贴图 NewIn20181