- Unity User Manual 2021.1 (beta)
- Working in Unity
- Installing Unity
- Installing the Unity Hub
Installing the Unity Hub
The Unity Hub is a management tool that you can use to manage all of your Unity Projects and installations. Use the Hub to manage multiple installations of the Unity Editor along with their associated components, create new Projects, and open existing Projects.
To install the Unity Hub for Windows, macOS, and Linux visit Download Unity on the Unity website.
Unity officially supports the following Linux distributions:
- Ubuntu 16.04
- Ubuntu 18.04
- CentOS 7
Note: If Unity Hub fails to launch while you are using Linux, you might need to give UnityHub.AppImage executable permissions. To do this:
- Open your terminal.
- Go to the directory where UnityHub.AppImage is. This will be the Unity Hub directory.
- Run
chmod +x UnityHub.AppImage.
To install and use the Unity Editor, you must have a Unity Developer Network (UDN) account. If you already have an account, sign in, choose your licenses type, and proceed to the Installing the Unity Editor section.
If you do not have an account, follow the prompts to create one. You can choose to create a Unity ID or use one of the social sign-ins. For more information on accounts and subscriptions, see Unity Organizations.
Installing the Unity Editor
To install the Editor:
-
Click the Installs tab. The default install locations are:
Windows:
C:\Program Files\Unity\Hub\EditorMac:
/Applications/Unity/Hub/EditorLinux:
~/Unity/Hub/EditorNote: If you want to change the default installation location, follow these steps:
From the top right corner of the Hub window, click the Gear icon.

In the Editor Folder Location dialog box, enter the new installation location and click Done.
-
Click the Add button and select a specific version of the Editor.

Hub install screen -
Click the Next button and select the modules you want to install with the Editor. If you don’t install a component now, you can add it later if you need to. When you’ve selected all the modules you need, click Done.

Modules install
If you are installing multiple Editor versions, the first installation starts as soon as the download is complete. Other selected versions download simultaneously and queue to start when the current installation finishes.
The Hub displays the installation location of each Editor under the corresponding version label.
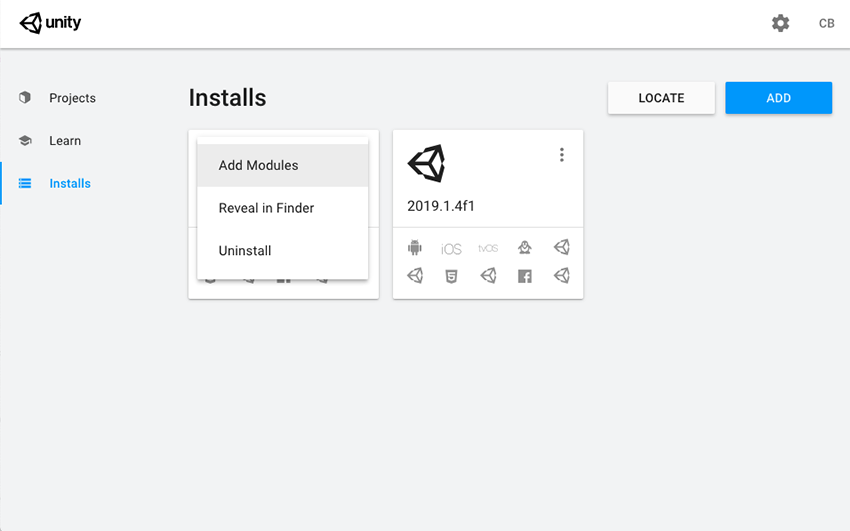
To add modules to an Editor, locate its files, or uninstall it, click the three dots next to that Editor version.

Adding existing instances of the Editor to the Hub
You can add instances of the Editor to the Hub that you installed outside of the Hub.
Click the Installs tab.
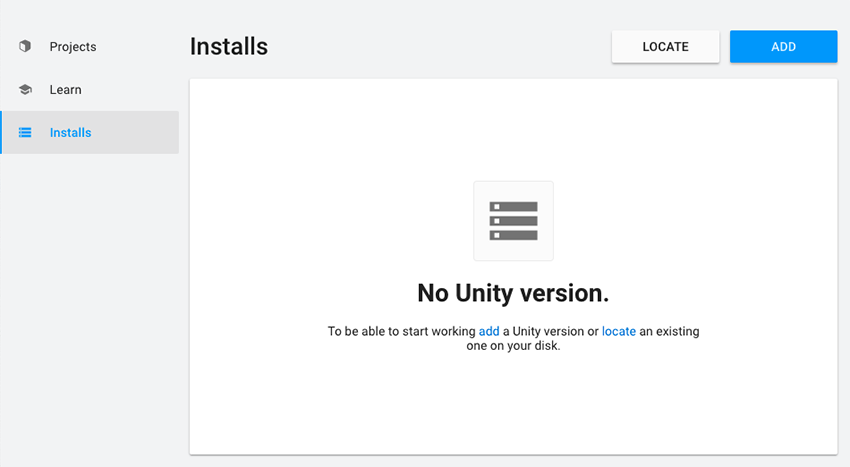
Click the Locate button to find existing installations of the Editor.
-
In the file dialog, navigate to the location of the Editor installation and select the Unity executable. On MacOS this is Unity.app. On Windows this is Unity.exe.
On Windows, the typical location of the Unity.exe is:
C:\Program Files\Unity\Editor\Unity.exeO
C:\Program Files\Unity<version>\Editor\Unity.exeOn macOS, the typical location of the Unity.app is:
/Applications/Unity/Hub/Editor/<version>/Unity.appOn Linux, the typical location of the Unity executable file is:
/home/<username>/Unity/Hub/Editor/<version>/Unity Click the Select Editor button.
To remove the Editor from the Hub, click the three dots next to the Editor version. Removing an Editor that you added in this manner does not uninstall it or modify it in any way.
Troubleshooting for Linux
If Unity fails to start, you might need to install a missing dependency. On Ubuntu-based distributions, use:
sudo apt install libgconf-2-4
On CentOS, you might need to install the mesa-libGLU dependency. Use:
sudo yum install mesa-libGLU
Support for Editor versions prior to 2017.1
Sign-in status is not shared for pre–2017.1 versions of the Editor opened through the Hub. Performing tasks such as Manage License, Open Project, Create Project, and Sign in opens the Unity Launcher instead of the Hub.
If you attempt to use the Unity Hub to open an Editor version 5 or earlier and you do not have an appropriate license file, the Editor will hang on the splash screen.
To avoid this issue, run the Editor directly, external to the Unity Hub, and the Editor will load correctly even if the license file is not detected.
Using the Unity Installer to install the Unity Editor
The Unity installer is a small executable program (approximately 1 MB in size) that lets you select which components of the Unity Editor you want to download and install.
To install previous versions of the Unity Editor using the Installer, visit the Unity download archive. The archive page provides Unity Installer download links for all released versions of the Editor.
For additional information on installing the Editor using the Installer, see the 2018.3 version of the Unity Manual.