- Unity User Manual (2017.3)
- Timeline
- Timeline Editor window
- Clips view
- Positioning clips
Positioning clips
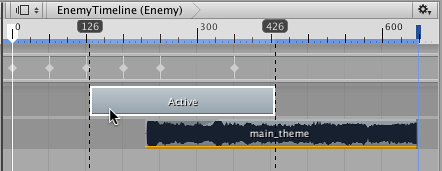
To position clips on a track, select one or more clips and drag. While dragging, black guides indicate the range of clips being positioned. The timeline shows the start time and end time of the clips being positioned.

You can also position a clip by selecting the clip and changing its start time in the Inspector window. This method only works when selecting a single clip. The Inspector window does not show properties for multiple clips.
You can move a clip to another track of the same type. Drag the selection vertically and a ghost of the selected clips helps visualize the result of moving the clip.
While positioning clips, if a clip overlaps another clip on the same track, either a blend or an override occurs, depending on the type of track:
Activation track, Control track, or Playable track. When two clips overlap each other on these tracks, the second clip overrides the first clip. It is possible to position a clip in such a way that it hides another clip.
Animation tracks, Animation Override tracks, and Audio tracks: When two clips overlap each other on these tracks, the first clip blends into the second clip. This is useful, for example, to create a seamless transition between two Animation clips.
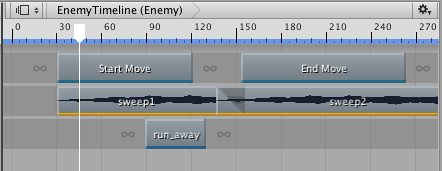
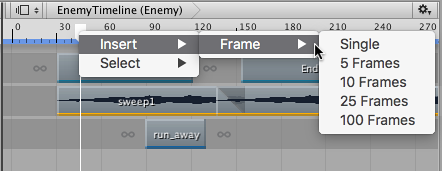
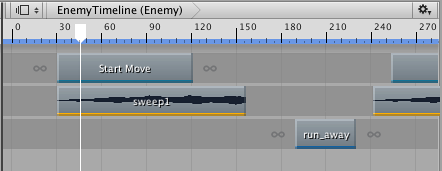
You can also position clips by inserting frames at the position of the Timeline Playhead. Right-click the Timeline Playhead, on the timeline above the Clips view, and choose Insert > Frame and a number of frames. This inserts frames in the Timeline asset at the position of the Timeline Playhead. Inserting frames only repositions the clips that start after the position of the Timeline Playhead.


- 2017–08–10 Page published with limited editorial review