Android SDK/NDK setup
Whether you’re building an Android application in Unity or programming it from scratch, you need to set up the Android Software Development Kit (SDK) before you can build and run any code on your Android device.
1. Download the Android SDK
Download the Android SDK from the Android Studio and SDK Tools download page. You can either use an Android Studio and SDK bundle, or only download the SDK command line tools.
2. Install the Android SDK
Install or unpack the Android SDK. After installing, open the Android SDK Manager and add at least one Android SDK Platform, the Platform Tools, the Build Tools, and the USB drivers if you’re using Windows.
3. Enable USB debugging on your device
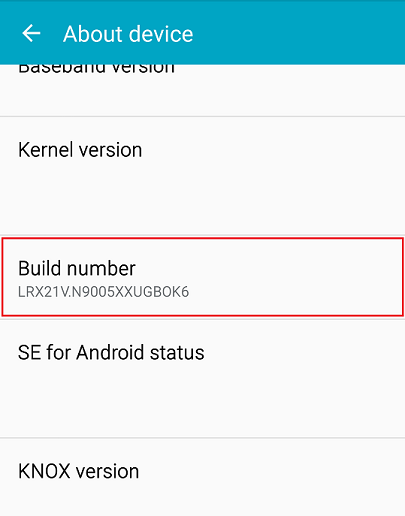
To enable USB debugging, you need to enable Developer options. To do this, find the build number in your device’s Settings menu. The location of the build number varies between devices. The stock Android setting can be found by navigating to Settings > About phone > Build number. For different devices and Android versions, refer to your hardware manufacturer.
Note: On operating systems older than Android 4.2 (Jelly Bean), the Developer options aren’t hidden. Go to Settings > Developer options, then enable USB debugging.
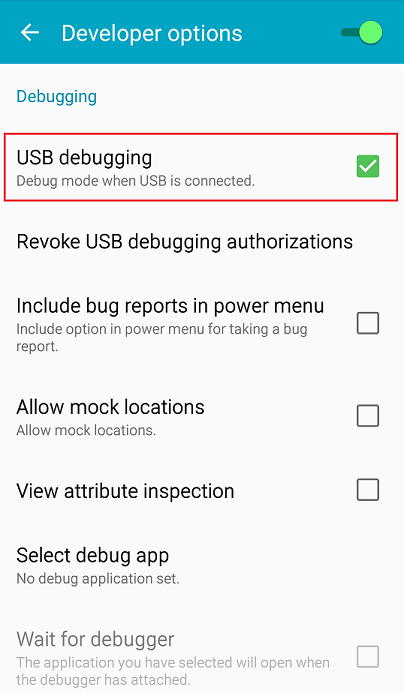
After you have navigated to the build number using the instructions above, tap on the build number seven times. A pop-up notification saying “You are now X steps away from being a developer” appears, with “X” being a number that counts down with every additional tap. On the seventh tap, Developer options are unlocked. Go to Settings > Developer options, and check the USB debugging checkbox to enable debug mode when the device is connected to a computer via USB.
4. Connect your Android device to the SDK
Connect your Android device to your computer using a USB cable. If you are developing on a Windows computer, you need to install the appropriate USB driver for your device.
For more information on connecting your Android device to the SDK, refer to the Running Your App section of the Android Developer documentation.
5. Configure the Android SDK path in Unity
The first time you make a Project for Android (or if Unity later fails to locate the SDK), you will be asked to locate the folder where you installed the Android SDK. Select the root folder of your SDK installation. If you wish to change the location of the Android SDK, in the menu bar go to Unity > Preferences > External Tools.
6. Download and set up the Android NDK
If you are using the IL2CPP scripting back end for Android, you need the Android Native Development Kit (NDK). It contains the toolchains (such as compiler and linker) needed to build the necessary libraries, and finally produce the output package (APK). If you are not targeting the IL2CPP back end, you can skip this step.
Download the latest Android NDK version from the NDK Downloads web page, and then extract it to a directory. The first time you build a project for Android using IL2CPP, you will be asked to locate the folder where you installed the Android NDK. Select the root folder of your NDK installation. If you wish to change the location of the Android NDK, in the Unity Editor, navigate to menu: Unity > Preferences… to display the Unity Preferences dialog box. Here, click External Tools.
2017–05–25 Page published with editorial review
Updated functionality in 5.5
Copyright © 2023 Unity Technologies
优美缔软件(上海)有限公司 版权所有
"Unity"、Unity 徽标及其他 Unity 商标是 Unity Technologies 或其附属机构在美国及其他地区的商标或注册商标。其他名称或品牌是其各自所有者的商标。
公安部备案号:
31010902002961