- Unity User Manual 2022.1
- グラフィックス
- ライティング
- ライトマッピング
- ライトマップの継ぎ目の縫合
ライトマップの継ぎ目の縫合
継ぎ目の縫合は、プログレッシブライトライトマッパーによって生成されたベイクしたライトマップで描画されたゲームオブジェクトの不要な尖ったエッジを滑らかにする機能です。


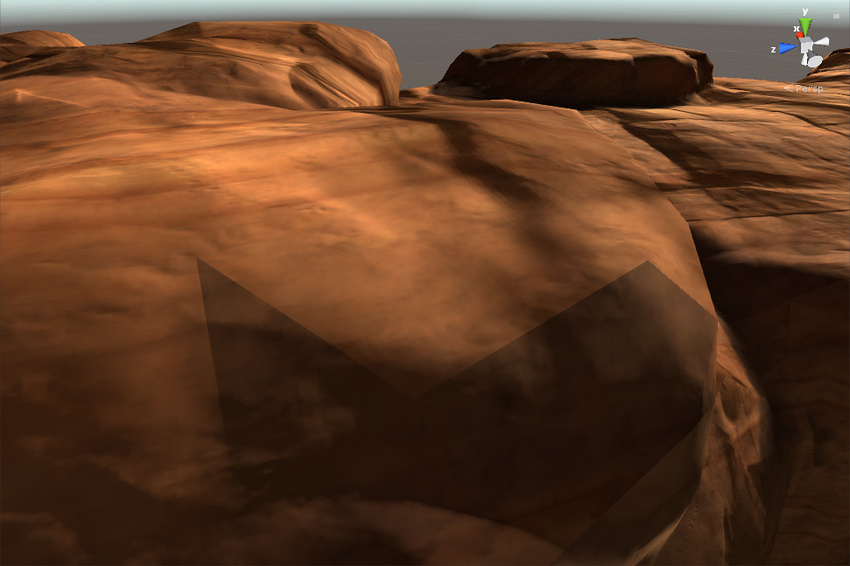
When Unity bakes lightmaps, it identifies mesh faces that are close together but separate from each other as being separate in lightmap space; the edges of these meshes are called “seams”. Ideally, seams are invisible; however, they can sometimes appear to have hard edges. This is because the GPU cannot blend texel values between charts that are separated in the lightmap.
Seam stitching fixes this issue. When you enable seam stitching, Unity does extra computations to amend the lightmap to improve each seam’s appearance. Stitching is not perfect, but it often improves the final result substantially. Seam stitching takes extra time during baking due to extra calculations Unity makes, so Unity disables it by default.
When you enable seam stitching, the lightmapper identifies the pair of edges that it should stitch together, and produces illumination which is as smooth as possible across the seam. This applies only to straight edges which run horizontally or vertically along chart boundaries in the atlas, and is designed to work with rectangles which are axis-aligned in UV space.
継ぎ目の縫合の制限
継ぎ目の縫合は プログレッシブライトマッパー で使用できます。継ぎ目の縫合は、1 つのゲームオブジェクトでのみ機能します。複数のゲームオブジェクトをスムーズにつなぎ合わせることはできません。
継ぎ目の縫合を使う
You can enable seam stitching on any GameObject with a Mesh Renderer component. In the Mesh Renderer Inspector, navigate to the Lightmapping section and Stitch Seams.
Alternatively, you can use the MeshRenderer.stitchLightmapSeams API.