- Unity User Manual 2023.2 (beta)
- Create with Unity
- クイックスタートガイド
- 3D ゲーム開発クイックスタートガイド
- Creating a 3D game
Creating a 3D game
To create a 3D game, set up your Unity project and then familiarize yourself with the relevant concepts in the following order:
- Fundamentals
- Scripting
- 3D Assets
- Building in-game environments
- Animation
- Graphics
- Audio
- Physics
- User interface
Fundamentals
GameObjects are fundamental objects in Unity that represent characters, props, scenery, and more. Every object in your game is a GameObject.
GameObjects live in 3D environments called scenes. You can think of a scene as a game level, but it might also represent a menu, the credits at the end of the game or something else entirely.
The behavior of GameObjects is defined by blocks of functionality called components. You can attach multiple components to GameObjects. The following components are fundamental for 3D games:
- Transform: the Transform component determines the Position, Rotation, and Scale of each GameObject in the scene. Every GameObject has a Transform component.
- Mesh Filter: this component defines the shape of a 3D GameObject.
- Mesh Renderer: this component defines how the 3D shape defined by the Mesh Filter looks.
- Cameras: specially-configured GameObjects that capture and display the world to the player.
- Rigidbody: Rigidbodies allow GameObjects to interact with the Physics system, including gravity and collisions. See the Physics section of this guide.
- Colliders: this component defines the shape of a 3D GameObject for the purpose of physical collisions.
スクリプティング
Unity allows you to create your own Components using scripts. Scripts let you trigger game events, modify Component properties over time and respond to user input. Unity supports the C# programming language natively. Here some examples of how you can use scripts in your game:
- To receive input from the player and have a GameObject move or act based on that input.
- To set win and lose states which open relevant win or lose scenes to create a full game loop.
- To affect the components of GameObjects, such as their transform, animation, or renderer, based on other variables.
For details on how to use scripts in Unity, see Scripting Overview. To learn the fundamentals of scripting, follow the Unity Learn Beginner Scripting course. For more in-depth guidance, see the example projects Create with Code and Creator Kit: Beginner Code.
3D Assets
Models are 3D representations of objects. The majority of the visuals for 3D games consist of models, such as characters, interactable objects, and the world around the player.
You can use tools like Probuilder to create models in Unity. However, these work best for prototyping, rather than for the final product.
To add more polished 3D assets to your final product, create 3D Models, Materials and Textures in 3D modeling software and then import them into Unity.
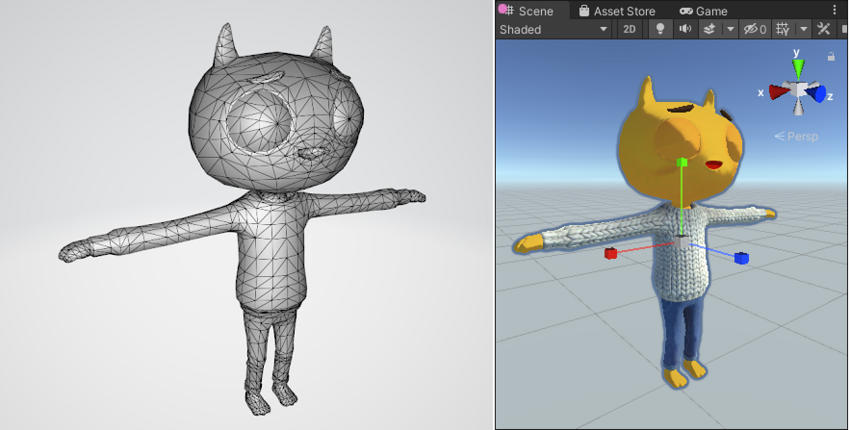
Importing 3D Model Files
Unity uses the .fbx model format. You can also use other common native model formats (for example, .max, .blend, .mb, .ma), and Unity converts them into .fbx once they are imported.
Import models into Unity to use them in your project.
Rendering Meshes
A 3D mesh is the structural build of a 3D model. It is made up of multiple polygon shapes. To add a 3D model to a GameObject, add a Mesh Filter to the GameObject. The Mesh Renderer component renders meshes in your scene; to ensure models appear in your game, add a Mesh Renderer to any GameObject that has a Mesh Filter component.
Materials
Materials combine information about the visual appearance of a surface, such as Textures, color tints, and Shaders. Use Materials to define how to render surfaces.
- Textures are any 2D image files that you import into Unity. Use Textures to wrap a mesh and add fine detail to a model.
- Use Color tints to alter the color of the texture.
- Shaders are a series of instructions which determine how Unity displays GameObjects on screen. Use Shaders to affect how Unity renders each pixel based on lighting input and Material configuration.
See the Learn Tutorial on Material Design.
Building in-game environments
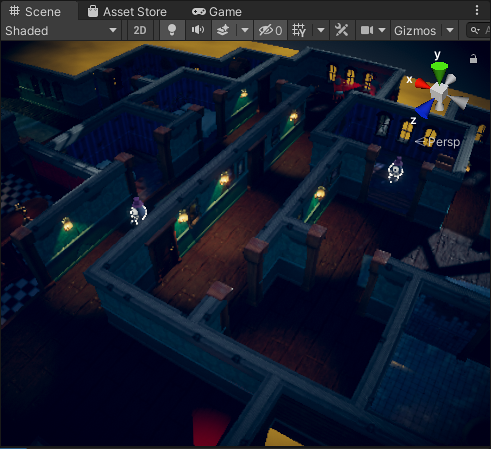
Environment design is the process of creating an environment for gameplay to take place in. You might design and build your environment at the same time in the Unity Editor, or you might design an environment outside of Unity and then build it in Unity.
To build an in-game environment, you add GameObjects to the scene and position them to suit your preference and design. In addition to hand-placing your models in the scene, the Unity Editor includes a built-in set of Terrain features that allow you to add landscapes to your game. In the Editor, you can create multiple Terrain tiles, adjust the height or appearance of your landscape, and add trees or grass to it. Read more about Creating and Using Terrains.
アニメーション
You can import animations made in other programs, or animate your assets directly in the Editor. For more information on 3D animation, see the Unity Learn Course Introduction to 3D Animation Systems.
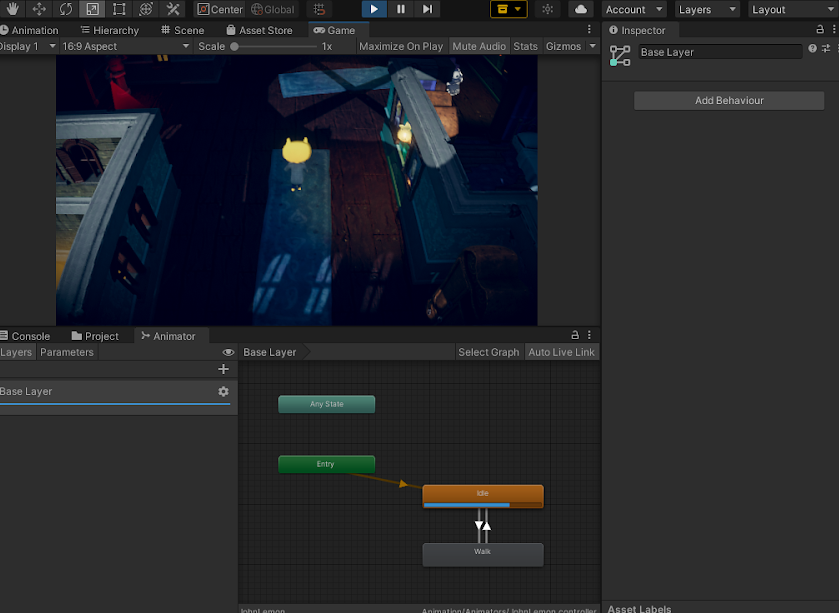
Importing Animations
Unity can import animation clips when you import a model with animation. This means you can animate models in another program and then access and manipulate the clips in Unity.
Animating Models in Unity
Use the Animation window to create and modify Animation Clips directly inside Unity. Use Keyframe animation to add simple animations to a GameObject within your scene, such as changing its position, size, or rotation.
Controlling animations
To control which Animation Clips play, you can call them directly in a script with the Animator Class, or create and modify the Animator Controller in the Animator window.
You can use the Animator window to:
- Create and set up the Animation Controller
- Create Animator States with Animation Clips
- Create Animator Parameters, which scripts can access or assign values to
- Create Animator Transitions which specify conditions (based on parameters) for when a State should change and how long the blend between states should take
グラフィックス
ライティング
Light your Scenes to add depth and mood to your environments and to help the player experience the game world you’ve created. To set up lighting:
- Create a Light. Right-click in the Hierarchy window to open the GameObject menu, select Light, and select a type of Light to add to your scene. See Types of Light.
- Place your Lights in the Scene. Adjust the color, intensity, and placement of your Lights until you achieve the desired effect. See Using Lights.
- Perfect your lighting. For example, you can choose a different Light mode, or add a cookie mask to create shadows.
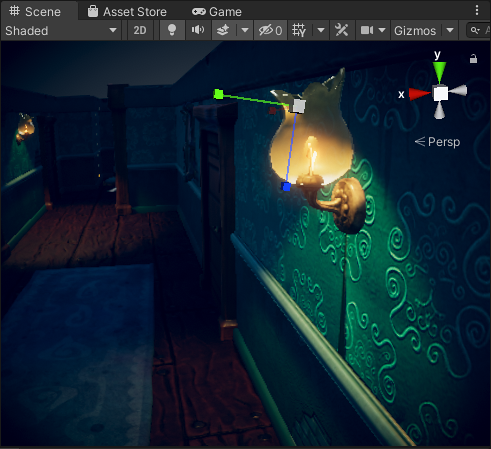
See the Unity Learn Lighting in URP tutorial.
Back to Top オーディオ
You can add background music and sound effects to your game in Unity; see Audio Overview. Use third-party software to create your audio and import it into Unity with the recommended settings.
Physics
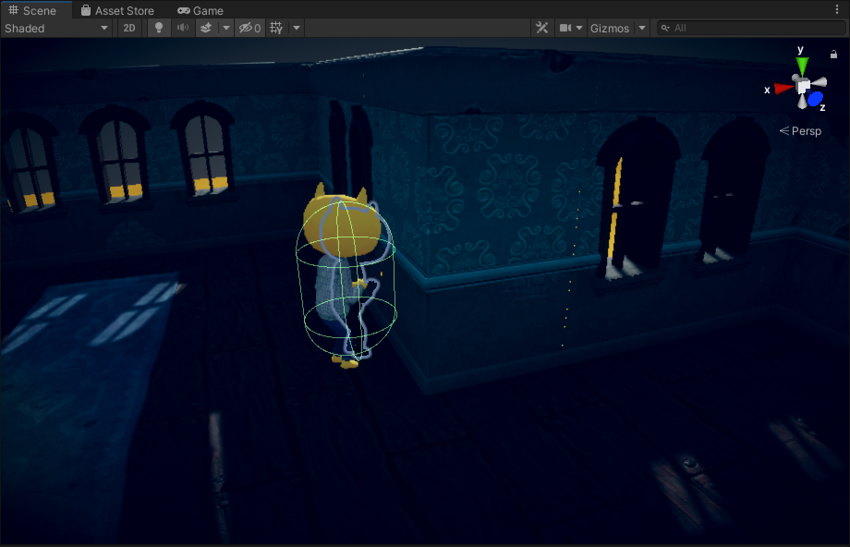
Use Unity’s physics engine to control how GameObjects interact. You can use this to replicate forces such as gravity and mechanics, which define how GameObjects behave on collision in the real world. You can also configure the physics settings to create custom physics to fit the design of your game, which might not be an accurate simulation of the real world. To learn how to use Unity’s physics engine, see the Unity Learn Physics tutorial. See the Physics section of the User Manual for more information.
To set up Physics for your GameObjects:
- To allow your GameObject to be affected by the Physics system, and react to things like gravity and collisions, add a Rigidbody component.
- Use Colliders to enable GameObjects to interact with other GameObjects in the scene. For example, GameObjects with a collider can move or be moved by another GameObject with a collider.
- To be able to call a function in code when two GameObjects intersect, add a Collider and make it a trigger.
User Interface
If you want to add a menu or help to your game, you need to set up a user interface. To set up a user interface, use Unity UI.