Terrain Textures
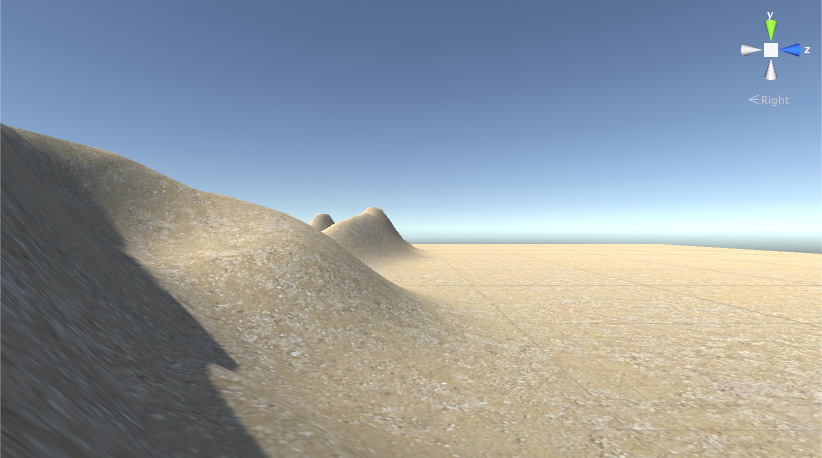
Вы можете добавлять текстуры на поверхность terrain’а для создания окраски и мелких деталей. Так как terrain’ы довольно большие объекты, к ним обычно применяют текстуры, которые можно бесшовно стыковать, чтобы замостить ими поверхность (повтор обычно не заметен с точи зрения персонажа, который находится близко к земле). Одна текстура будет служить как “фоновая” картинка по всему ландшафту, но вы также можете рисовать области, используя другие текстуры, чтобы симулировать различные покрытия, такие как трава, пустыня и снег. Нарисованные текстуры могут быть применены с разной прозрачностью, так, чтобы у вас получился плавный переход между травянистой местностью и песчаным пляжем, например.
Включение текстур
Кнопка с кистью на панели инструментов включает рисование текстур.

Изначально у terrain’а не будет текстур, назначенных для рисования. Если вы кликнете кнопку Edit Textures и из выпавшего меню выберите Add Texture, вы увидите окно, в котором вы можете указать текстуру и её свойства.
Depending on the material type you set in Terrain Settings, the color channels of the main texture map may have different uses. These are listed below in Terrain Texture Settings.
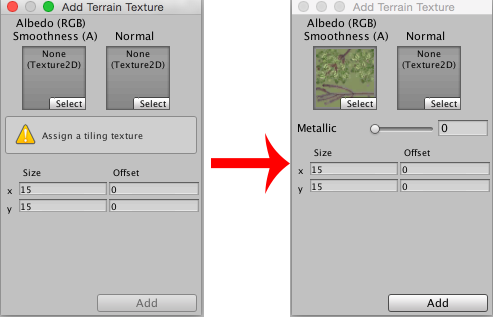
Click on Select to see your texture assets in a separate Select Texture window (not shown). Click on the texture you want and it displays in the Add Terrain Texture window. (See Add Terrain Texture window, before and after, in Fig 1 below.)
Terrain Texture Settings
Depending on the material type you set in Terrain Settings, the color channels of the main texture map may have different uses. The different Add Terrain Texture windows are listed here.
Standard [image above in Fig 1]: RGB channels are the albedo color of the terrain surface, while alpha channel controls the smoothness. There is also a ‘Metallic’ slider which controls the overall look of the surface.
Diffuse: RGB channels are the diffuse color. Alpha channel is not used.

Specular: RGB channels are the diffuse color. Alpha channel is the gloss map.
Custom: How the splat map is used depends on your custom shader, but usually you want the RGB channels to be the base color.
Besides the main texture map, you can also specify a normal texture for all of the 3 built-in material types. The texture type of the normal texture used here must be ‘Normal Map’ (you can change the texture type of a texture asset in its import settings). Shader code that handles normal map will be turned on only when at least one normal texture is set for the terrain, so you don’t need to pay the performance cost of normal map if you don’t use them.
The Size property (just below the texture boxes) lets you set the width and height over which the image will stretch on the terrain’s surface. The Offset property determines how far from the terrain’s anchor point the tiling will start; you can set it to zero to start the tiling right in the corner. Once you have set the texture and properties to your liking, click the _Apply button to make the texture available to the terrain.
To make changes to an added terrain texture, select its thumbnail, click the ‘Edit Textures’ button and select ‘Edit Texture…’ from the menu. Or, you can simply double click on its thumbnail. To remove a terrain texture, select its thumbnail, click the ‘Edit Textures’ button and select ‘Remove Texture’ from the menu.
Note that if you want to assign a Texture to a Terrain, you need to open the Texture Importer and tick the Read/Write Enabled checkbox.
Рисование текстурами
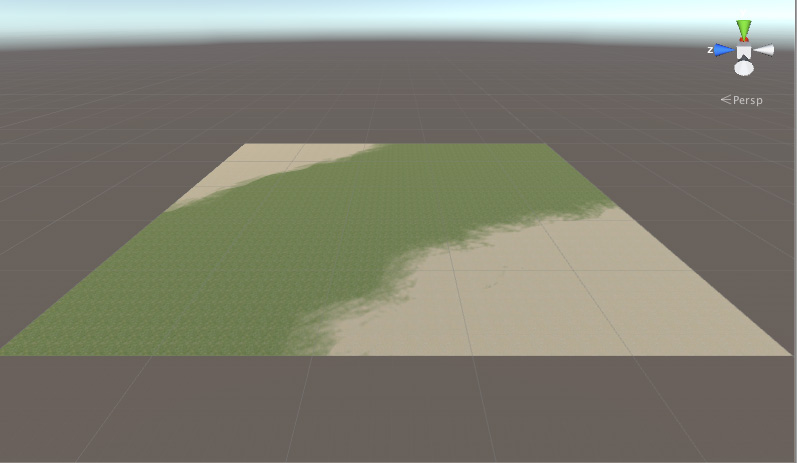
Первая текстура, которую вы добавите, будет использоваться в качестве “фона” для покрытия terrain’а. Однако, вы можете добавить сколько угодно текстур; последующие текстуры будут доступны для рисования с помощью привычных кистей. Под текстурами в инспекторе terrain’а вы увидите не только обычные опции Brush Size и Opacity, но и дополнительную опцию Target Strength. Она устанавливает максимальную степень непрозрачности, которую достигнет кисть, даже если повторно пройдётся по одной и той же точке. Это может быть полезно при добавлении едва заметных островков разнообразия цветов на одном типе terrain’а для разбавления монотонности большой, плоской области с такой же затайленой текстурой, повторяющейся снова и снова.
Copyright © 2023 Unity Technologies
优美缔软件(上海)有限公司 版权所有
"Unity"、Unity 徽标及其他 Unity 商标是 Unity Technologies 或其附属机构在美国及其他地区的商标或注册商标。其他名称或品牌是其各自所有者的商标。
公安部备案号:
31010902002961