- Unity User Manual (2019.1)
- Unity Services
- Unity Analytics
- Setting Up Analytics
Setting Up Analytics
Once you have set up your project for Unity Services, you can enable the Analytics service.
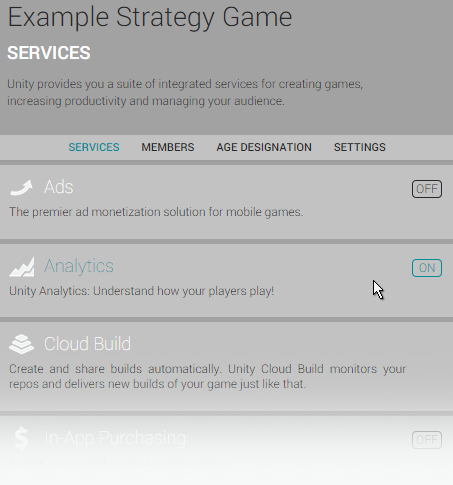
To do this, in the Services window, select Analytics and then click the OFF button to toggle it ON. If you haven’t already done so, at this stage you will need to complete the mandatory Age Designation field for your project. (Again, you may have already done this for a different Unity Service, such as Ads). This age designation selection will appear in the Services window.

Enabling Analytics within your project
You must then hit Play in your project to validate the connection to Unity Analytics. The Unity Editor acts as a test environment to validate your Analytics integration. With Analytics enabled, when you press the Play button, the Editor sends data (an “App Start” event) to the analytics service. This means you can test your analytics without having to build and publish your game. Once you have pressed play, you can check that your project was validated by going to the Analytics Dashboard for this project. To get there, in the services window, click Services -> Analytics -> Go To Dashboard.

The Go to Dashboard button in the Analytics section of the Services window opens the dashboard in a web browser. The dashboard contains tools for visualizing, analyzing, and taking action based on your Analytics data. See Analytics Dashboard.
- 2017–08–29 Page published with editorial review
- New feature in Unity 2017.1