- Unity User Manual 2023.2 (beta)
- 2D game development
- Work with sprites
- Sprite Editor
- Sprite Editor:Custom Outline
Sprite Editor:Custom Outline
使用 Sprite Editor 的 Custom Outline 选项可编辑 Unity 渲染精灵纹理所在的网格的形状。Custom Outline 编辑器允许使用控制点来创建和定义精灵网格轮廓的形状。
默认情况下,Unity 在矩形网格上渲染每个精灵。此网格可能包含纹理边框外部的透明区域,而渲染这些透明区域会对性能产生负面影响。使用 Custom Outline 编辑器定义与精灵纹理轮廓匹配的网格轮廓时,可以减小透明区域的大小,从而提高性能。
To access the Custom Outline editor, select a Sprite and then in the Sprite’s Inspector window, select the Sprite Editor button. In the Sprite Editor window, open the upper-left drop-down menu and select Custom Outline to open the Custom Outline editor.
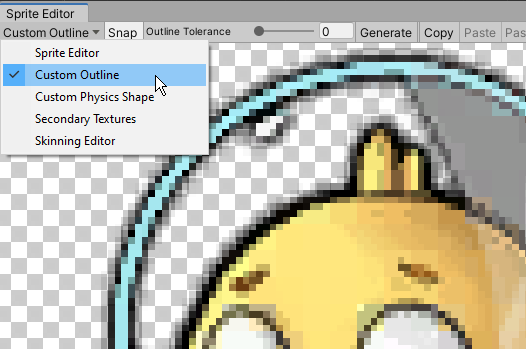
Custom Outline 编辑器
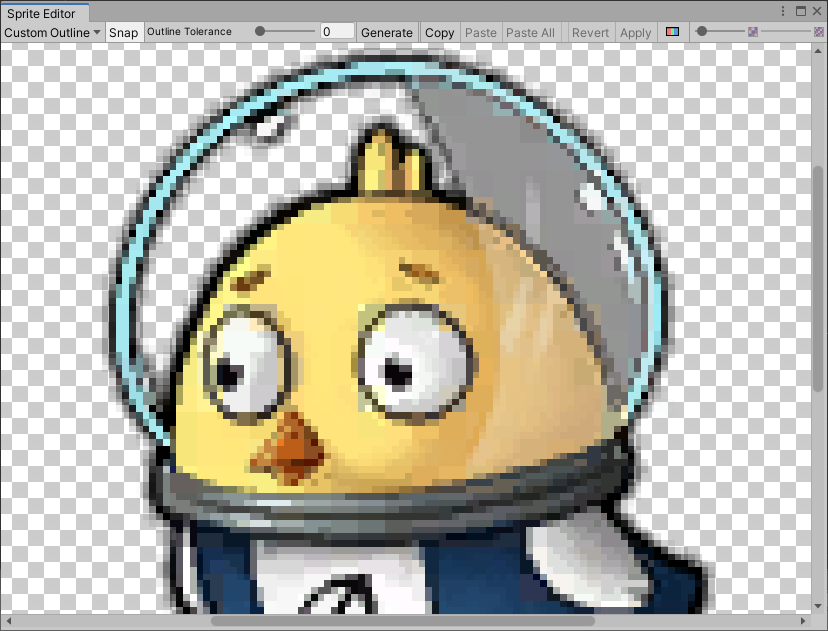
Custom Outline 编辑器的属性
| 属性 | 功能 |
|---|---|
| Snap | 将控制点贴靠到最近的像素。 |
| Outline Tolerance | 使用此滑动条可控制生成的轮廓贴合精灵纹理轮廓的紧密和精确程度。在最小值 (0) 时,Sprite Editor 会在精灵周围生成基本轮廓。在最大值 (1) 时,Sprite Editor 生成一个尽可能贴合精灵纹理的轮廓。 |
| Generate | 当您单击此按钮时,Unity 会根据您设置的 Outline Tolerance 值自动创建一个轮廓。 |
| Copy | 生成或设置自定义轮廓后,单击此 Copy 按钮复制自定义轮廓。离开 Custom Outline 模块或关闭 Sprite Editor 会从内存中删除复制的轮廓。 |
| Paste | 使用此按钮将复制的轮廓粘贴到当前选定的精灵。如果您尚未使用 Copy 功能复制一个轮廓的功能,此按钮不可用。Paste 将自定义轮廓复制到另一个精灵,在 Custom Outline 编辑器窗口打开时,在 Project 窗口中选择该精灵。然后单击 Paste 按钮将复制的轮廓粘贴到新的精灵。当您粘贴轮廓时,如果轮廓中的某个点大于精灵的框架,Unity 会将该点限制到该精灵的框架内。 |
| Paste All | Use this button to paste a copied outline to all Sprites in the Sprite Editor window, regardless of selection. If you have not used the Copy function to copy an outline, this button is unavailable. Use this function to apply the same outline to multiple Sprites in the same Texture (such as when a Texture has its Sprite Mode set to ‘Multiple’). When you paste the outline, if a point in the outline exceeds the Sprite’s frame, Unity clamps the point to be inside that Sprite’s frame. |
| Revert | 撤消在编辑器窗口中所做的任何未保存的最近更改。要保存更改,请先单击 Apply。 |
| Apply | 选择此按钮可保存在编辑器窗口中所做的所有更改。 |
使用 Custom Outline 编辑器
The Custom Outline editor allows you to to create or generate the Mesh of the Sprite. There are two ways to create a custom outline: have Unity automatically generate the shape, or manually creating and editing it in the editor window.
生成轮廓
要让 Unity 自动生成轮廓,使其遵循原始精灵纹理的形状并考虑纹理中的透明区域,请单击 Generate 按钮。但是,您可以通过 **Outline Tolerance ** 滑动条来调整生成的轮廓与精灵纹理的紧密程度。

调整 Outline Tolerance 滑动条可细化 Unity 生成的网格的轮廓。增加该值会增加轮廓与精灵纹理形状的紧密程度。将滑动条保留为 0 会生成一个较为松散地遵循精灵纹理的网格。
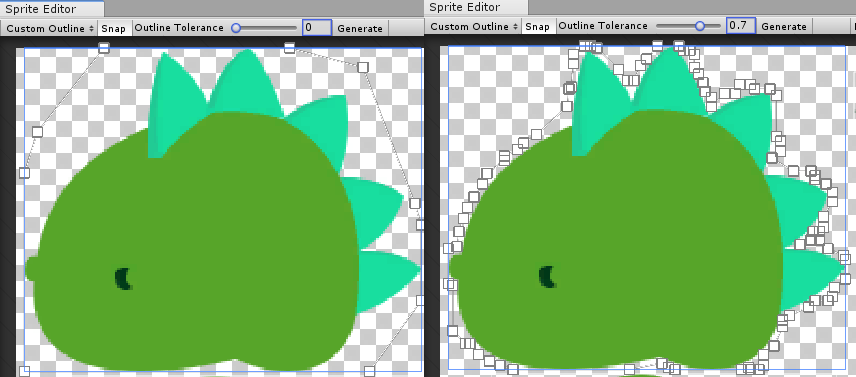 自动生成的网格轮廓。
编辑自定义轮廓
您可以创建自己的自定义形状并通过两种方式对其进行编辑。第一种方式是自动生成一个轮廓,然后移动生成的轮廓的控制点以进一步细化其形状。或者,在 Custom Outline 编辑器窗口中的任何空间上单击并拖动,以创建具有四个控制点的矩形轮廓,然后通过移动控制点或添加和删除控制点开始细化轮廓。

在编辑器窗口中单击并拖动精灵纹理,可创建包含 4 个控制点的矩形轮廓。重复此步骤在精灵中创建多个网格轮廓。Unity 仅渲染网格轮廓中包含的区域。
移动控制点
要调整网格轮廓的形状,请单击并拖动其控制点。将鼠标悬停在控制点上时,控制点会变为蓝色,表示可以选择它。单击控制点并将其拖动到不同位置以调整网格轮廓的形状。您可以通过单击并拖动光标经过某个区域,以选择该区域内的所有控制点,从而一次选择多个控制点。之后您可以重新定位或一并移除所有选定的控制点。
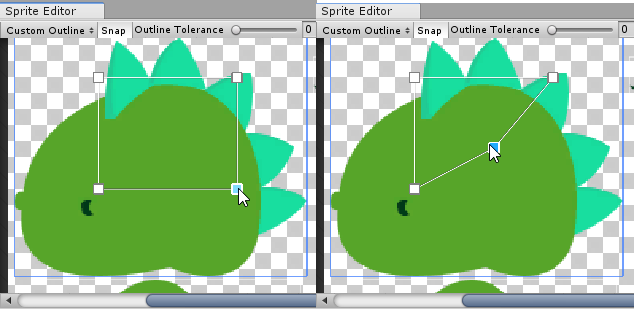
添加/移除控制点
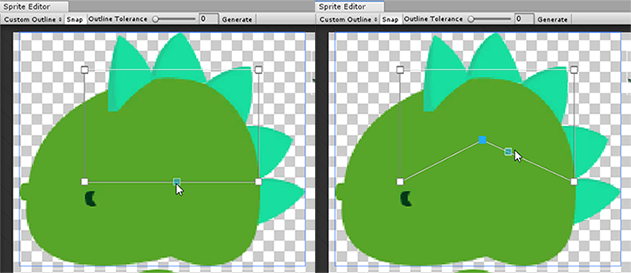
要添加控制点,请将光标置于轮廓边缘。沿着轮廓的边缘会出现控制点的预览。单击即可在该位置添加新控制点。要移除一个控制点,可选择该并按 Del/Command+Del 键。
移动边缘
要移动两个控制点之间一个部分,请按住 Control/Ctrl 键选择轮廓的边缘而不是其控制点。要更改轮廓的形状,请单击并拖动突出显示的边缘以将它们移动到新位置。

复制和粘贴编辑器窗口功能添加于 2020.1 NewIn20201 在 Unity 2017.3 版中将 Edit Outline 更名为 Custom Outline。