- Unity User Manual (5.6)
- Working In Unity
- Basics
- Getting started
Getting started
Starting Unity for the first time
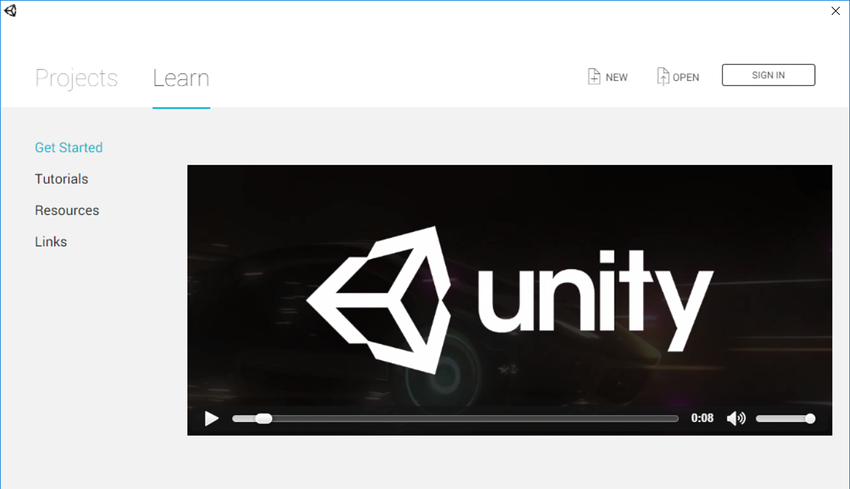
When you launch the Unity Editor, the Home Screen appears. If you have no existing Unity Projects on your computer, or if this is your first time opening the Unity Editor, the Home Screen displays the Learn tab.

From the Learn tab, you can access tutorials and learning resources to help you get started with Unity. If you are new to using Unity, you should work through the Unity Learn tutorials before starting a new project.
Projects 选项卡
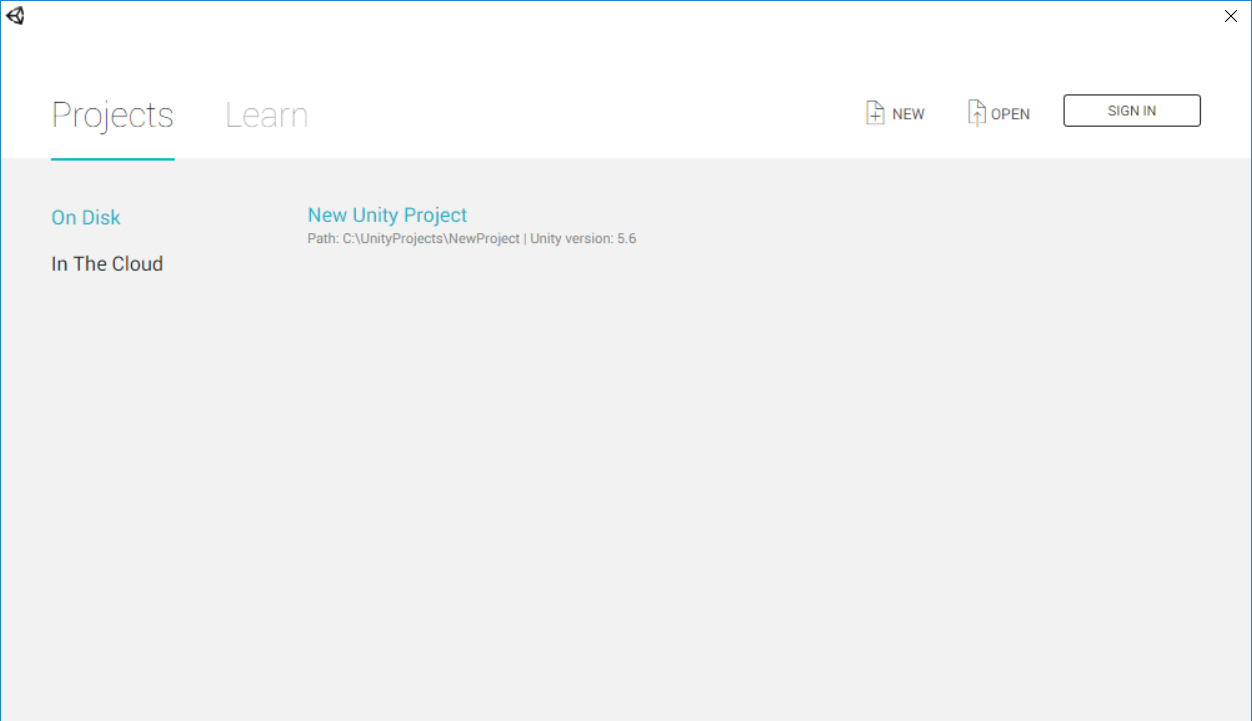
From the Home Screen, click Projects to view the Projects tab.

To open a new Project, click New. This opens the Create Project view.
To open an existing Unity Project stored on your computer, click the Project name in the Projects tab, or click Open to browse your computer for the Project folder.
To access Unity Collaborate Projects, click In The Cloud, then select the Project that you want to load. You will then be prompted to chose a storage location for this project on your computer.
创建项目
 In the top right corner of the Home Screen, click ‘New’ to see the Create Project window.
To access the Home Screen when you are already in the Unity Editor, go to File > New Project ….
From the Create Project window, there are various starter settings for you to apply before Unity creates your project. These are described in detail below.

| 设置 | 功能 |
|---|---|
| Project name | Set the name of your Project. This names the folder which stores the Assets, Scenes and other files related to your Project. This defaults to New Unity Project, and you can change it at any time. |
| Location | Use this to define where in your computer’s file system to store your Project. The location of your Project defaults to the home folder on your computer. To change it, type the file path to your prefered storage location into the Location field. Alternatively, click the three blue dots in the Location field. This opens your computer’s file browser (Explorer, Finder or Files, depending on your computer’s operating system). In your file browser, navigate to the folder that you want to store your Project in, and click Select Folder or Open. |
| 3D / 2D | Choose whether your project is in 2D or 3D. This sets up various presets in Unity to make getting started easier. This is set to 3D by default. If you aren’t sure which to choose, leave it as 3D. To change this setting in the Editor later, click the 2D button in the Scene view. |
| Add Asset Package | If you want to, you can use this to add pre-made content to your Project. The Asset Packages provided with Unity include pre-made models, particle effects and example scripts, along with other useful tools and content. To import Unity-provided Asset Packages into your Project, click the Add Asset Package button, then tick the checkbox to the left of each Asset Package you want to import, and click Done. Unity automatically imports the selected Assets when your Project is created. The Add Asset Package screen also contains any Assets you have downloaded from the Unity Asset Store. You can also add Asset Packages later, once you’ve created your project. To do this in the Unity Editor, go to Assets > Import Package, and select the package you want to import. |
Select Create Project when you’re done. Unity automatically generates the required files and creates your Project.
Opening a Project
主屏幕的 Project 选项卡会列出先前在此计算机上打开过的项目。单击列表中的项目即可将打开一个项目。

If the Editor is newly installed, or you haven’t yet opened the Project you need in this installation of Unity, click Open to open your file browser and locate the Project folder. Note that a Unity Project is a collection of files and directories, rather than just one specific Unity Project file. To open a Project, you must select the main Project folder, rather than a specific file).
To bring up the Home Screen’s Projects tab from inside the Unity Editor, go to File > Open Project.
2017–05–22 Page amended with editorial review - Leave page feedback
Learn tab added in 5.6