Color Grading
The effect descriptions on this page refer to the default effects found within the post-processing stack.
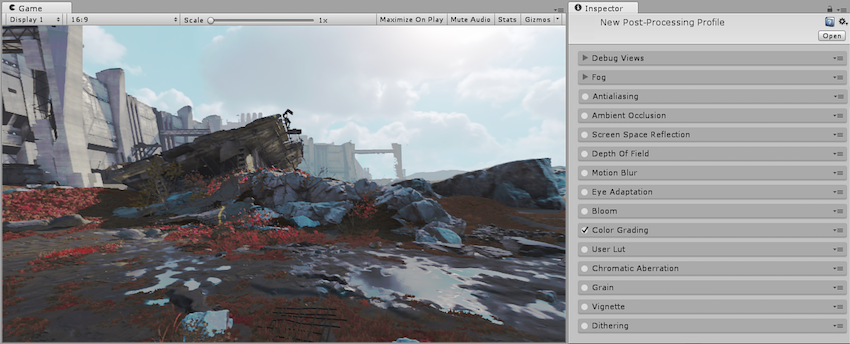
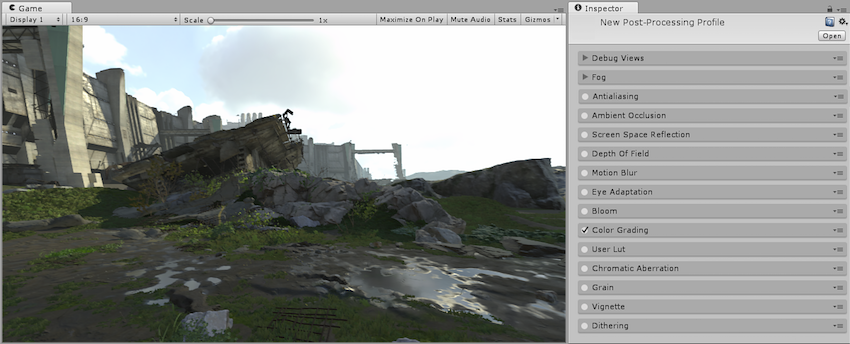
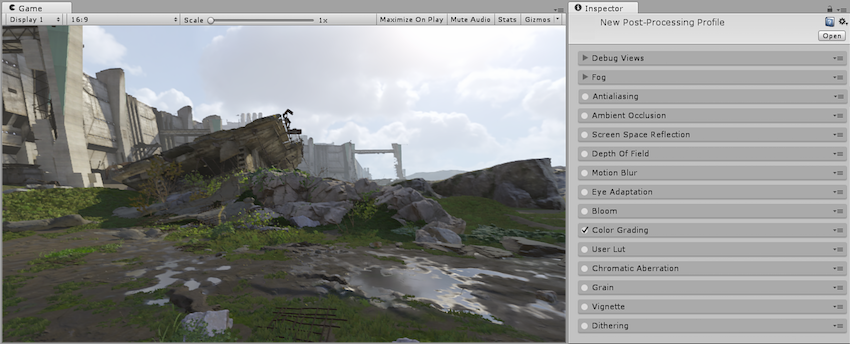
Color Grading is the process of altering or correcting the color and luminance of the final image. You can think of it like applying filters in software like Instagram.
The Color Grading tools included in the post-processing stack are fully real-time HDR tools and internal processing is done in the ACES color-spaces.
The Color Grading tools supplied in the post-processing stack come in five sections:
Tonemapping
Basic
Channel Mixer
Trackballs
Grading Curves
Requirements
RGBAHalf Texture Format
Shader model 3
See the Graphics Hardware Capabilities and Emulation page for further details and a list of compliant hardware.
Tonemapping
Tonemapping is the process of remapping HDR values of an image into a range suitable to be displayed on screen. Tonemapping should always be applied when using an HDR camera, otherwise values color intensities above 1 will be clamped at 1, altering the scenes luminance balance.
There are three tonemapping modes supplied with the post-processing stack:
None (apply no tonemapping, select this when working in LDR)
Neutral
Filmic (ACES)
Neutral Tonemapper
The Neutral tonemapper only does range-remapping with minimal impact on color hue & saturation and is generally a great starting point for extensive color grading. Its operator is based on work by John Hable and Jim Hejl. It offers full parametric control over the tonemapping curve and is the recommended tonemapper to use in most cases.
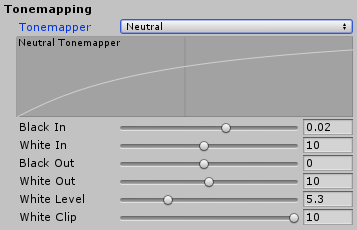
Properties
| Property: | Function: |
|---|---|
| Black In | Inner control point for the black point. |
| White In | Inner control point for the white point. |
| Black Out | Outer control point for the black point. |
| White Out | Outer control point for the white point. |
| White Level | Pre-curve white point adjustment. |
| White Clip | Post-curve white point adjustment. |
Filmic (ACES) Tonemapper
The Filmic (ACES) tonemapper uses a close approximation of the reference ACES tonemapper for a more filmic look. Because of that, it is more contrasted than Neutral and has an effect on actual color hue & saturation. This tonemapper is the simplest to use as it requires no user input to give a standard filmic look to your scene.

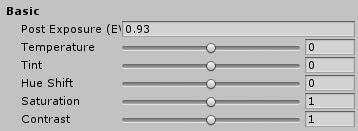
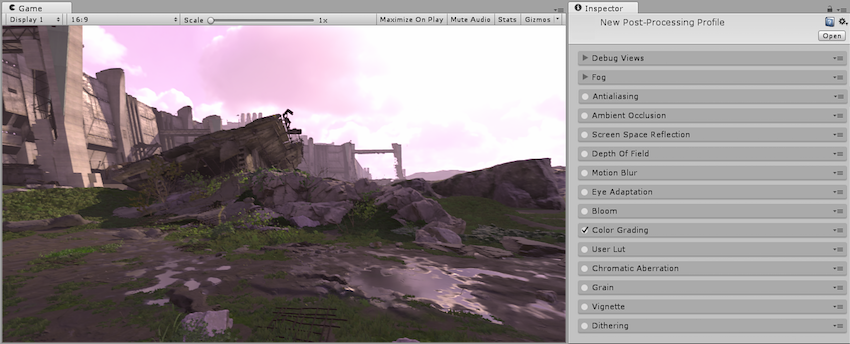
Basic
The basic section provides the simplest color grading tools such as Temperature and Contrast. This is the recommended starting point for color correction.
Properties
| Property: | Function: |
|---|---|
| Post Exposure | Adjusts the overall exposure of the scene in EV units. This is applied after HDR effect and right before tonemapping so it won’t affect previous effects in the chain. |
| Temperature | Sets the white balance to a custom color temperature. |
| Tint | Sets the white balance to compensate for a green or magenta tint. |
| Hue Shift | Shift the hue of all colors. |
| Saturation | Pushes the intensity of all colors. |
| Contrast | Expands or shrinks the overall range of tonal values. |
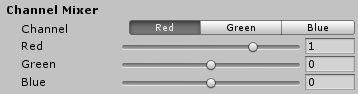
Channel Mixer
The Channel Mixer is used to modify the influence of each input color channel on the overall mix of the output channel. For example, increasing the influence of the green channel on the overall mix of the red channel will adjust all areas of the image containing green (including neutral/monochrome) to become more reddish in hue.
Properties
| Property: | Function: |
|---|---|
| Channel | Select the output channel to modify |
| Red | Modify the influence of the red channel within the overall mix |
| Green | Modify the influence of the green channel within the overall mix |
| Blue | Modify the influence of the blue channel within the overall mix |
Trackballs
The trackballs are used to perform three-way color grading in either Linear or Log space. When working in LDR it is recommended to use Linear trackballs for a better experience. When working in HDR it is recommended to use Log trackballs for greater control but linear trackballs can still be useful.
Adjusting the position of the point on the trackball will have the effect of shifting the hue of the image towards that color in the given tonal range. Different trackballs are used to affect different ranges within the image. Adjusting the slider under the trackball offsets the color lightness of that range
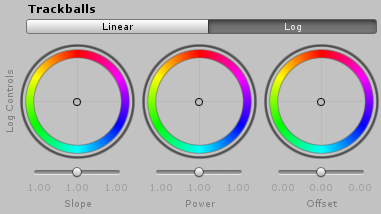
Log
Log-style grading compresses the distribution of color and and contrast image data to emulate the color-timing process that could be done by optical film printers. It is generally the preferred way to do film-like grading and is highly recommended when working with HDR values.
Properties
| Property: | Function: |
|---|---|
| Slope | Gain function |
| Power | Gamma function |
| Offset | Shifts the entire signal |
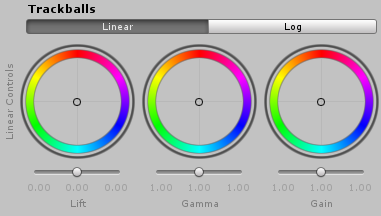
Linear
An alternative 3-way transformation to logarithmic controls optimized to work with linear-encoded data. Preferred when working in LDR.
Properties
| Property: | Function: |
|---|---|
| Lift | Shifts the entire signal higher or lower. Has a more pronounced effect on shadows. |
| Gamma | Power function that controls midrange tones. |
| Gain | Increases the signal. Makes highlights brighter |
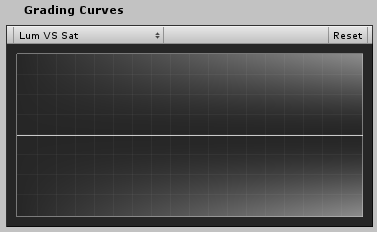
Grading Curves
Grading Curves (also known as versus curves) are an advanced way to adjust specific ranges in hue, saturation or luminosity in your image. By adjusting the curves on the five graphs you can achieve the effects of specific hue replacement, desaturating certain luminosities and much more.
Five Grading Curve types are supplied in the post-processing stack:
YRGB
Hue vs Hue
Hue vs Sat
Sat vs Sat
Lum vs Sat
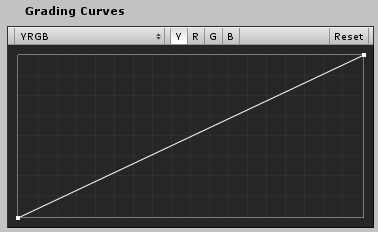
YRGB Curve
Affects the selected input channels intensity across the whole image. Input channel can be selected between Y, R, G and B where Y is a global intensity offset applied to all channels. The X axis of the graph represents input intensity and the Y axis represents output intensity. This can be used to further adjust the appearance of basic attributes such as contrast and brightness.
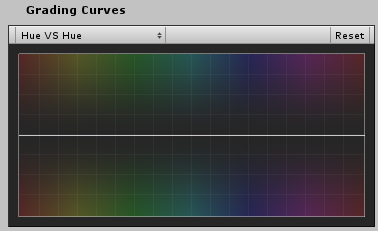
Hue vs Hue Curve
Used to shift hues within specific ranges. This curve shifts the input hue (X axis) according to the output hue (Y axis). This can be used to fine tune hues of specific ranges or perform color replacement.
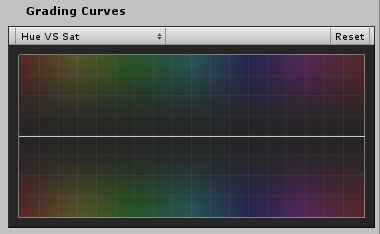
Hue vs Sat Curve
Used to adjust saturation of hues within specific ranges. This curve adjusts saturation (Y axis) according to the input hue (X axis). This can be used to tone down particularly bright areas or create artistic effects such as monochromatic except a single dominant color.
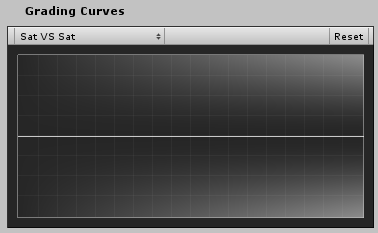
Sat vs Sat Curve
Used to adjust saturation of areas of certain saturation. This curve adjusts saturation (Y axis) according to the input saturation (X axis). This can be used to fine tune saturation adjustments made with Basic Color Grading.
Lum vs Sat Curve
Used to adjust saturation of areas of certain luminance. This curve adjusts saturation (Y axis) according to the input luminance (X axis). This can be used to desaturate areas of darkness to provide an interesting visual contrast.
2017–05–24 Page published with no editorial review
New feature in 5.6
对文档有任何疑问,请移步至开发者社区提问,我们将尽快为您解答