タイルの作成
タイル アセットを作成するには 2 つ方法があります。最初の方法は、Assets メニューから直接タイルアセットを作成する方法です。もう 1 つは選択したスプライトから自動的にタイルアセットを作成する方法です。
タイルアセット用のスプライトの読み込みと準備
タイルマップ用の個々のタイルやタイルセット画像を Assets フォルダーに置くことによって、それらのテクスチャを Assets フォルダーに インポート します。インポートした画像を選択すると、テクスチャインポーター 設定が Inspector ウィンドウに表示されます。
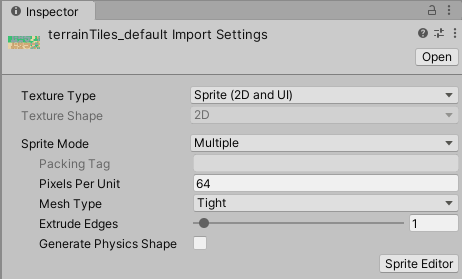
タイルマップで使用するためのスプライトをインポートするときは、以下の推奨する設定を使用してください。各設定の詳細は、Texture Type: Sprite (2D and UI) を参照してください。
- Texture Type - Set this to Sprite (2D and UI). Other Texture types are not supported for Tilemaps.
-
Sprite Mode - Set this to Single if the Texture contains only a single Sprite. Set to Multiple if it contains multiple elements, for example a Tile sheet that contains multiple Tile Textures.
-
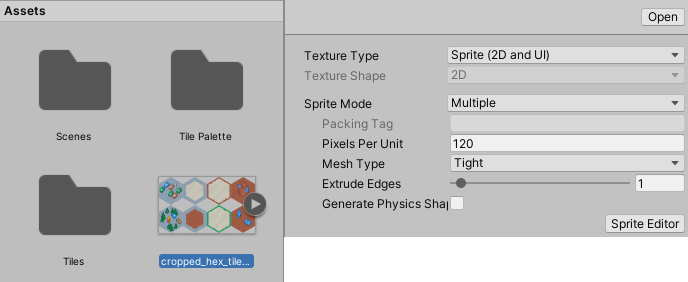
Pixels Per Unit (PPU) - This value is the number of pixels that make up one Unity unit for the selected Sprite. This determines the size of the Tile Sprite when it is rendered on the Tilemap. It is recommended to set this value to the width(in pixels) of a single Tile Sprite so that a Tile is equal to one Unity unit in width. For both Hexagonal and Isometric Tiles, measure the width of the Sprites at their widest. The size of the Tile Sprites are also affected by the Cell Size property of the Grid parent of the Tilemap also affects the size of Tile Sprites as the Cell Size determines how many Unity units equal to a single Cell.
In the example below, the imported Sprites are 64x64. The default Tilemap has a Cell Size of (XYZ: 1, 1, 0) Unity units. To make a Tile Sprite fit exactly on a single Cell of the Tilemap, set its PPU value to 64 to match its pixel width. The Sprite’s entire width then corresponds to one Unity unit, which is equal to the width (X value: 1) of a single Cell on the Tilemap.
By doubling the original PPU value of 64 to 128, the Sprite scales to 0.5(64px/128) Unity units in width. Halving the PPU value to 32 instead scales the Sprites to 2(64px/32) Unity units in width. The Sprites appear smaller or bigger respectively, however their Cell position on the Tilemap remains unchanged. - Sprite Editor Outlines - After the Sprites are imported, refine the outlines of the Sprites by opening each of them in the Sprite Editor and editing their outlines. If the Texture is imported with Sprite Mode set to Multiple and contains multiple Sprites, then edit the outline of each of the Sprites in the editor.
Create a blank Tile Asset from the Asset menu
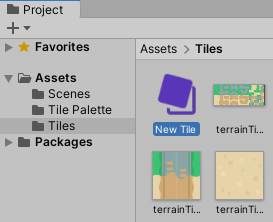
Create a Tile directly from the Assets menu by going to Assets > Create > Tile. You will be prompted to name and save the new blank Tile Asset to your chosen location. Refer to the documentation on Tile Assets for more information about the Asset properties.
Generate Tile Assets automatically in the Tile Palette
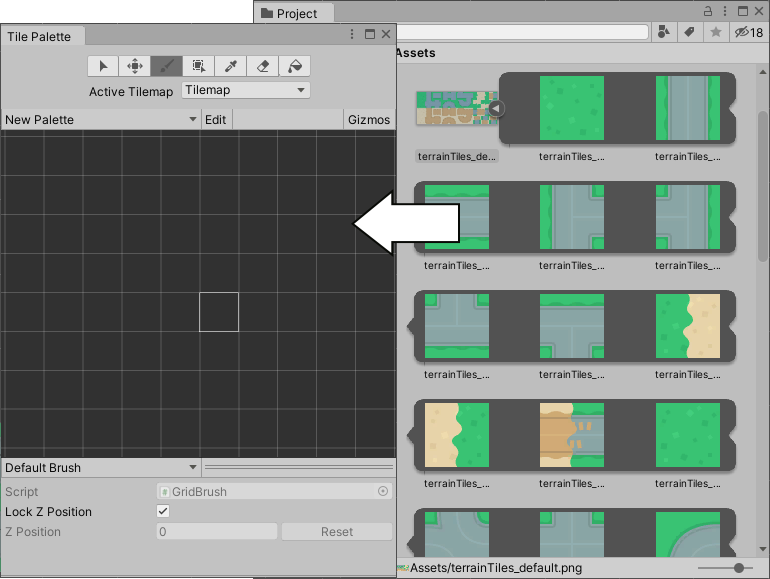
Tiles can be automatically generated by bringing the individual Sprites or Sprite sheets of the Tiles directly into the Tile Palette window (if the window is not open, go to Window > 2D > Tile Palette).
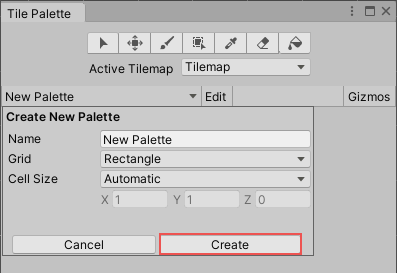
First prepare and import the Tile Sprites, then open the ‘New Palette’ drop-down menu in the Tile Palette window. Select an existing Tile Palette from the list, or select ‘Create New Palette’ to open the Create New Palette dialog box.

After selecting the properties of the Tile Palette (refer to the Tile Palettes documentation for more information about the different options), select Create to open the new Palette in the window.
After creating or loading a Palette, drag and drop Textures or Sprites from the Assets folder directly onto the Tile Palette window. You will be prompted for the save location for the new Tile Assets. Select the save location, and the new Tile Assets are generated in the selected folder. The generated Tiles are also automatically placed onto the Palette.
