- Unity User Manual (2019.2)
- Gráficos
- Información General de las Gráficas (Graphics Overview)
- Visión general del post-procesamiento
Visión general del post-procesamiento
Post-processing applies full-screen filters and effects to a camera’s image buffer before the image appears on screen. It can drastically improve the visuals of your application with little set-up time. You can use post-processing effects to simulate physical camera and film properties.
Using post-processing
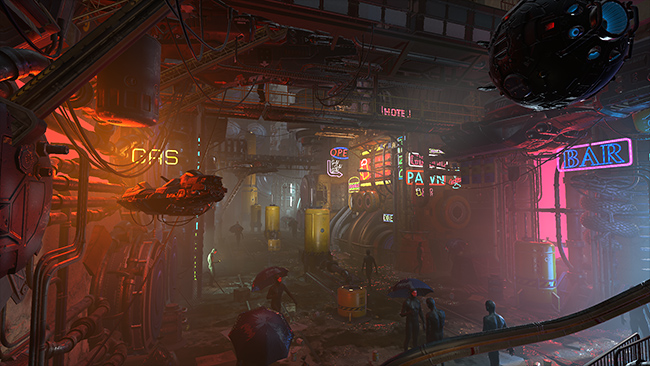
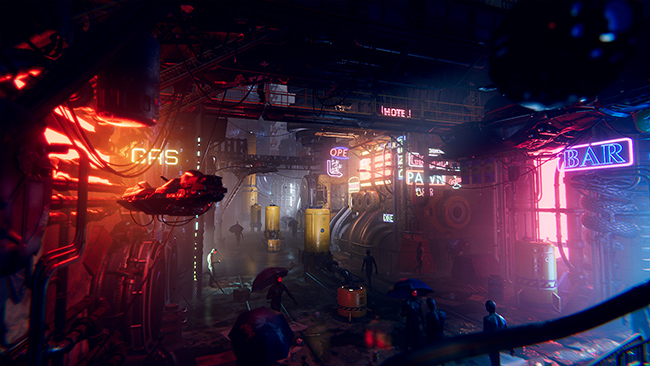
Las imágenes a continuación muestran una escena con y sin post-procesamiento.


The post-processing effects available in Unity depend on what pipeline you are using to render graphics. Each pipeline has a different way of setting up post-processing effects as follows:
| Render pipeline | Post-processing support |
|---|---|
| Built-in render pipeline | To use post-processing effects, download the Post-Processing V2 package package. |
| Lightweight Render Pipeline (LWRP) | LWRP uses the Post-Processing V2 package package, which Unity installs when you create a Project using an LWRP Template. Some post-processing effects are not compatible with this pipeline, such as Ambient Occlusion and Screen Space Reflections. |
| Universal Render Pipeline (URP) | URP includes its own integrated post-processing solution. |
| High Definition Render Pipeline (HDRP) | HDRP includes its own integrated post-processing solution. |
Note: Post processing stack version 1 is now deprecated and should not be used. For more information on render pipelines, see the documentation on Scriptable Render Pipelines.
This section of the manual gives an overview of the post-processing effects that are available in Unity. For specific information on how to use the post-processing properties and scripting available in Unity, read the package documentation on post-processing.
- 2019–05–07 Page published